SoKal
Guest
Welcome to my 'Surrender Monkey Surf Van' thread. ")
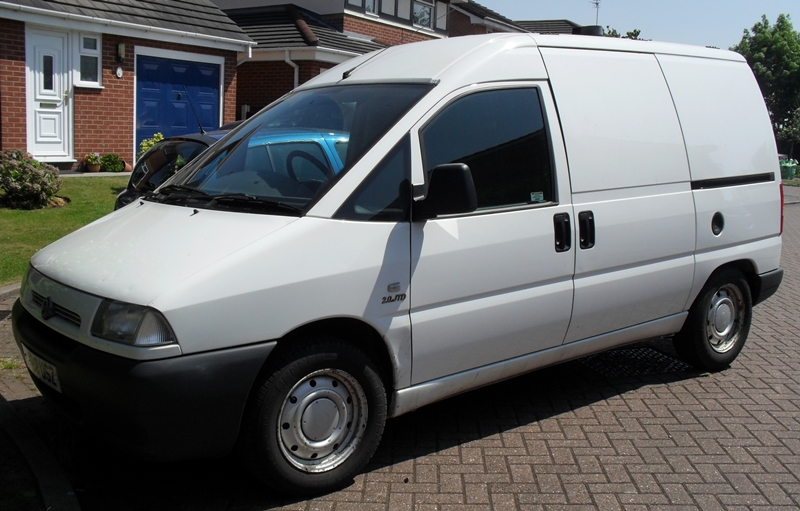
Here's how it all started last week :
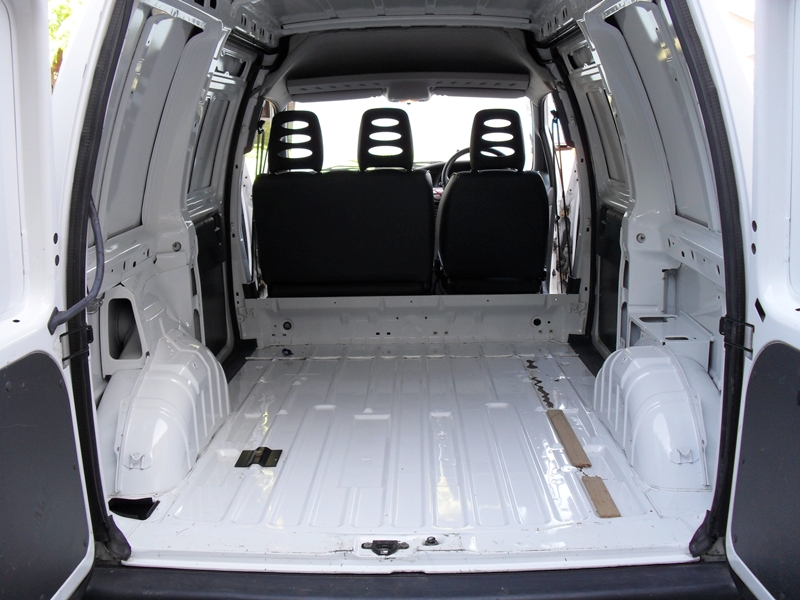
43k on the clock, FSH (ex lease) and the quietest oil burner I've ever heard (2.0l JTD - plenty of poke!). All for much bargain-ness!
It was all bulkheaded and ply-lined - uhgggggghhhhhhhhhhhhh!
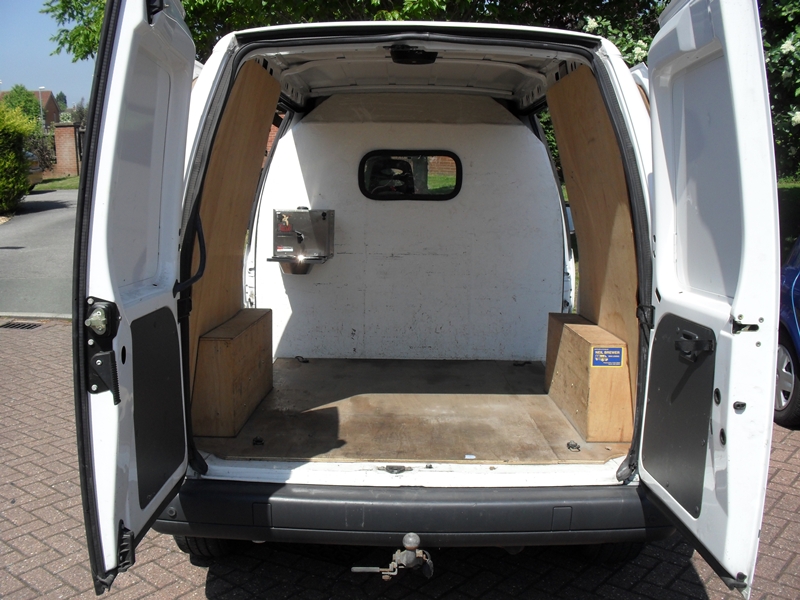
But that soon changed!
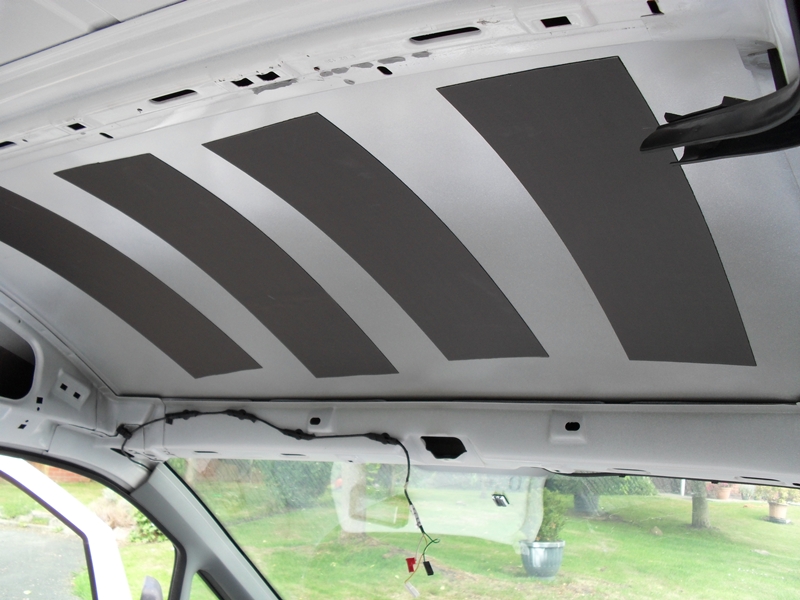
Copious amounts of 'Flashband' followed :
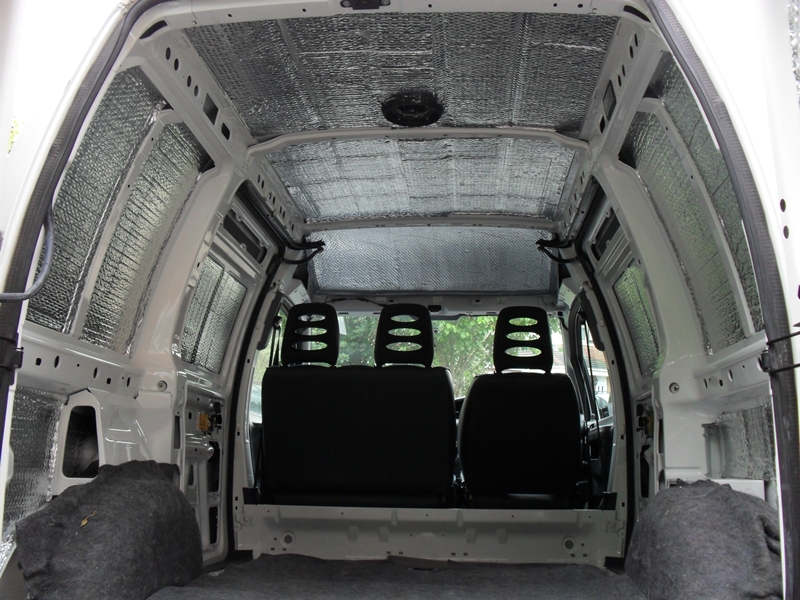
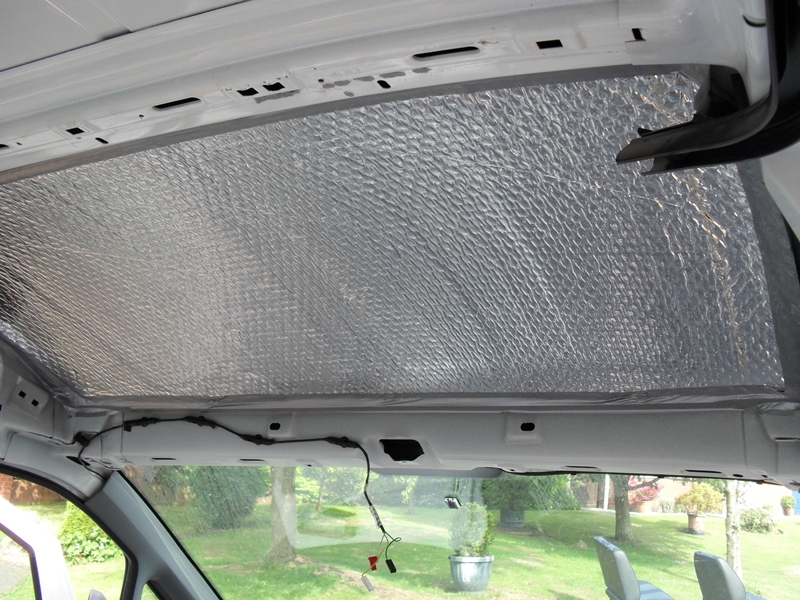
Followed by the 'tried and tested' foil-backed insulation (first layer) :
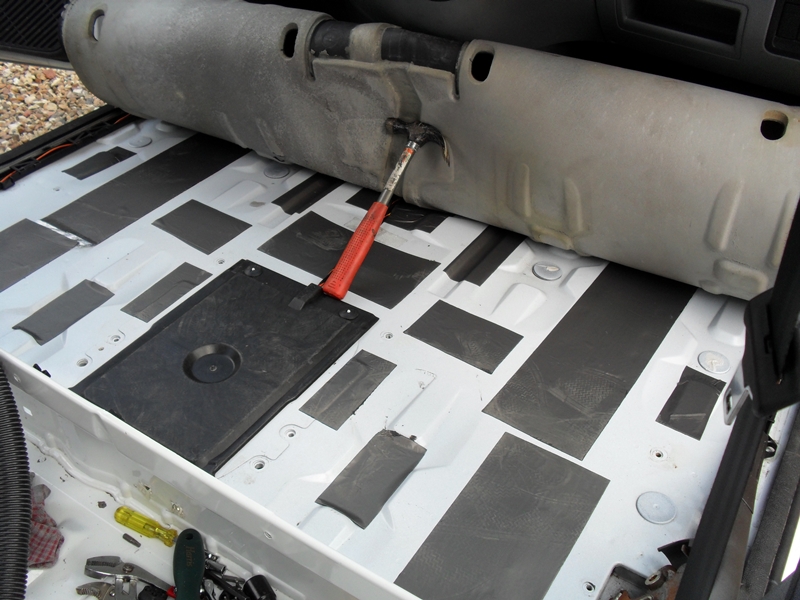
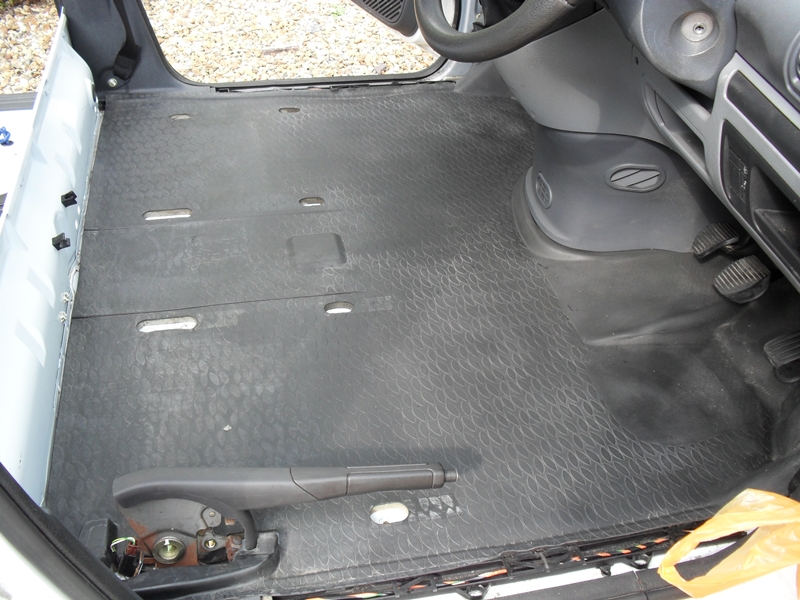
More sound proofing under the cab floor :
And a good scrub for the rubber flooring :
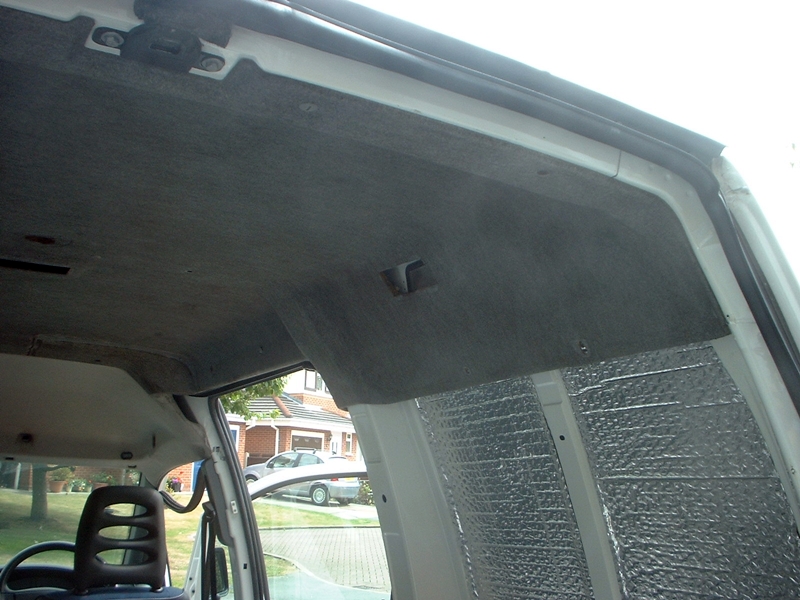
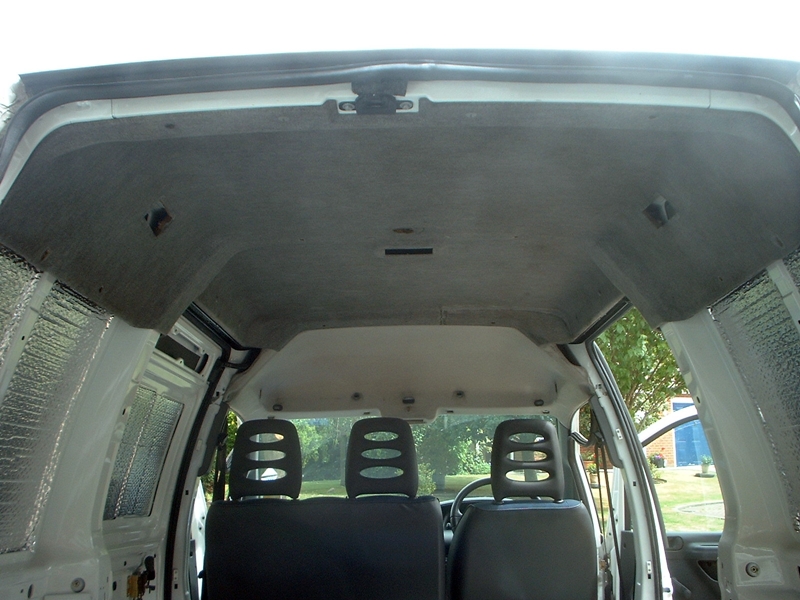
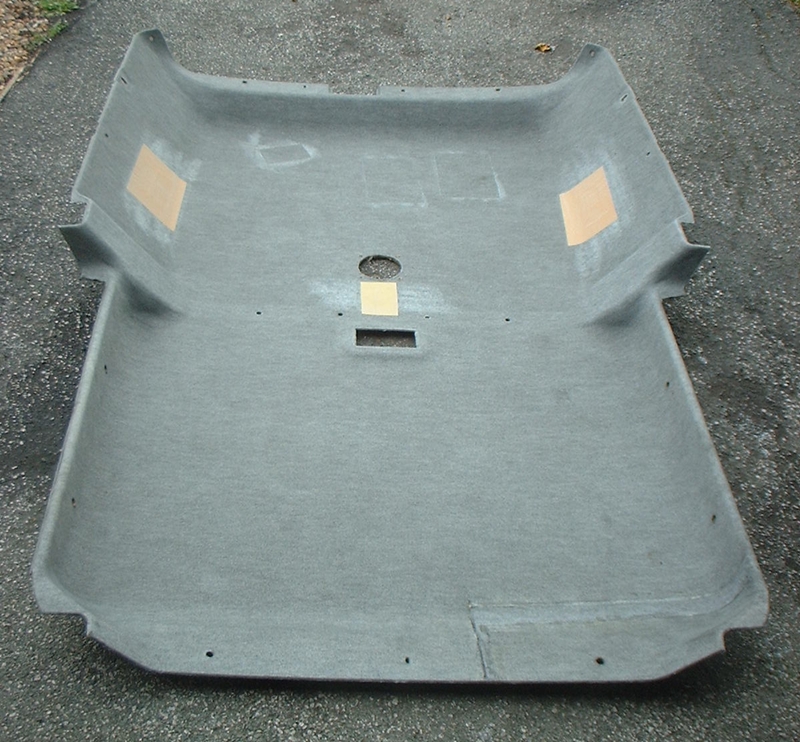
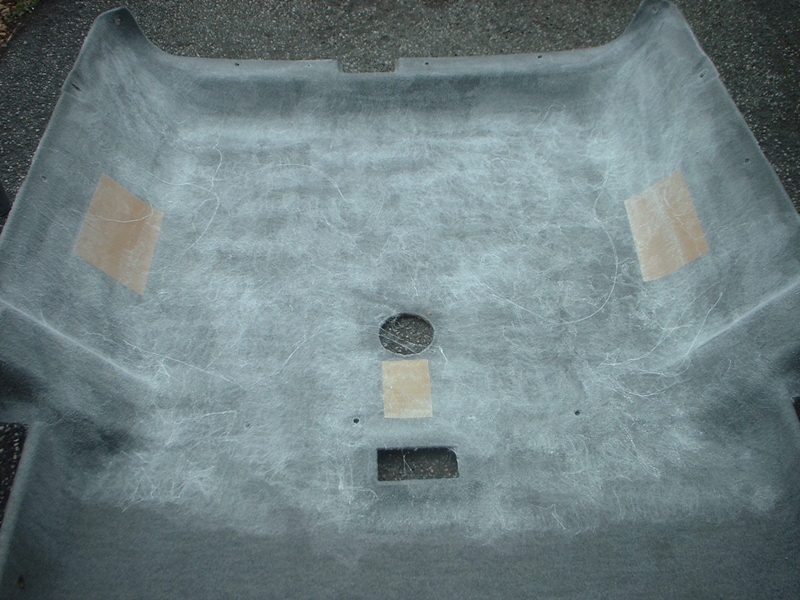
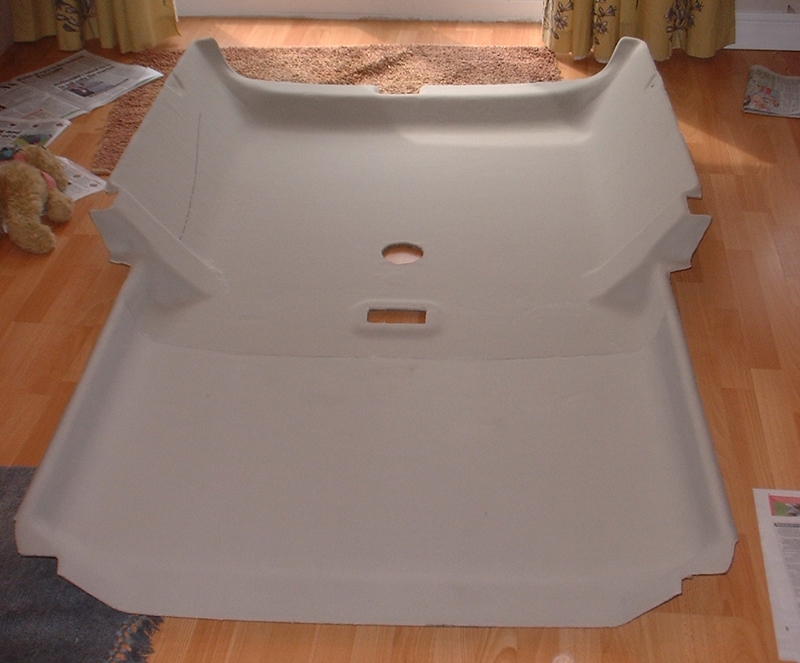
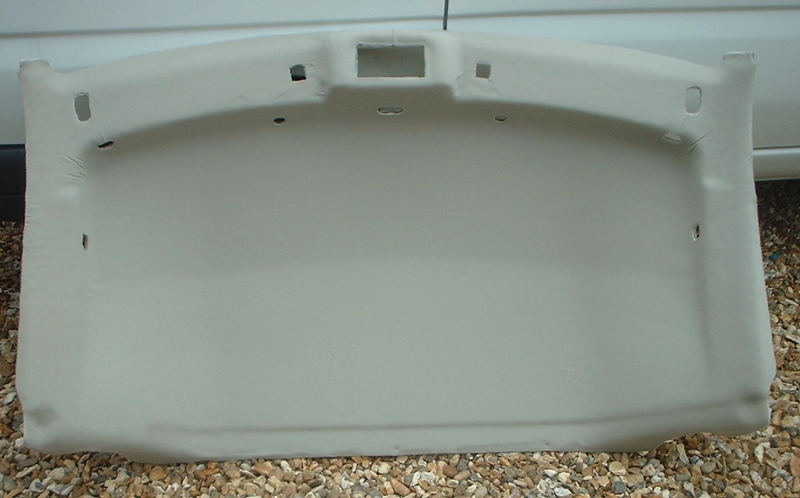
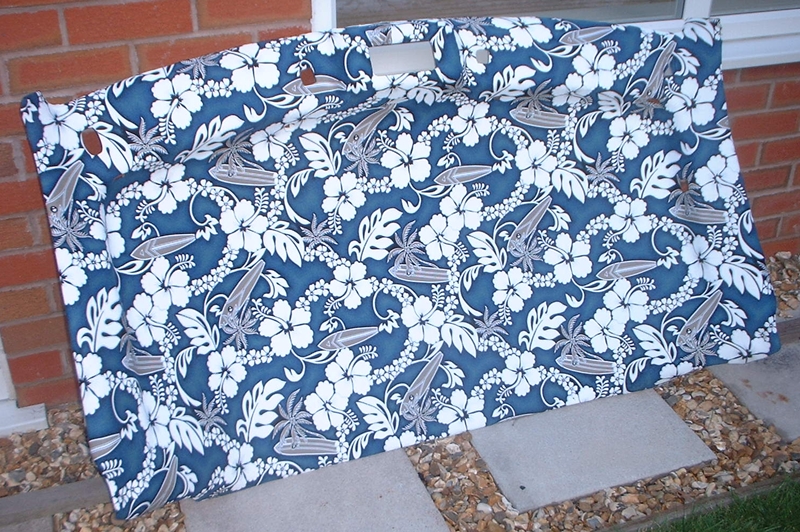
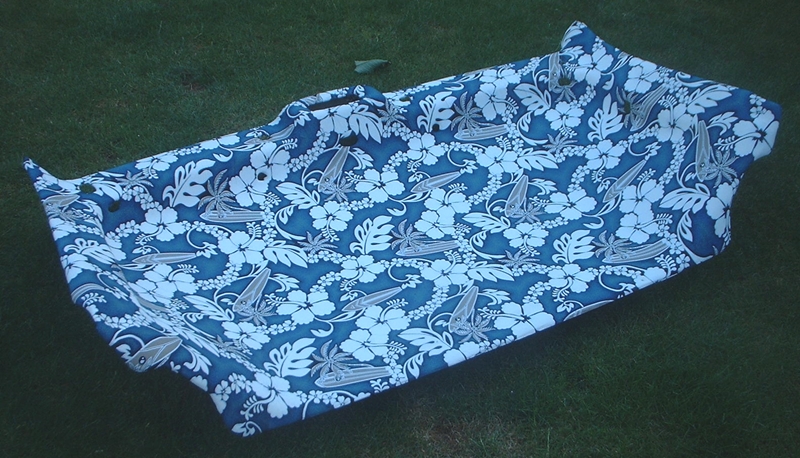
Full length headlining (from a combi) is on its way, to be retrimmed in something nice and loud.
Rear plastics (from a taxi) are also on their way to help tidy up the back.
Ply floor covered in Altro will be done.
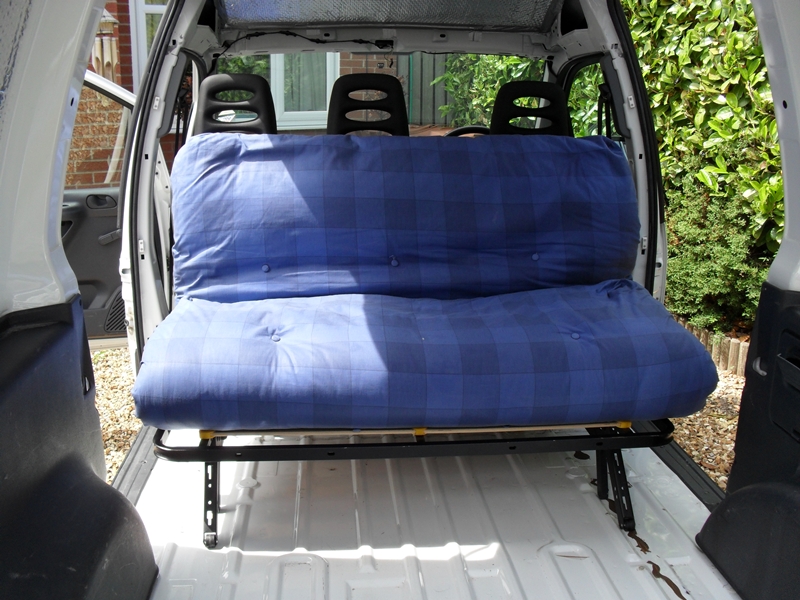
Basic rear seat / bed combi will be fabricated and that will basically be it.
Pics and progress to follow.....
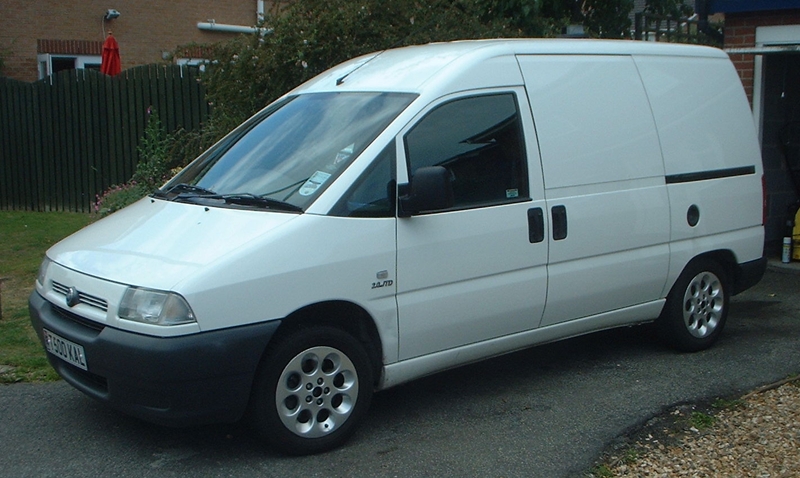
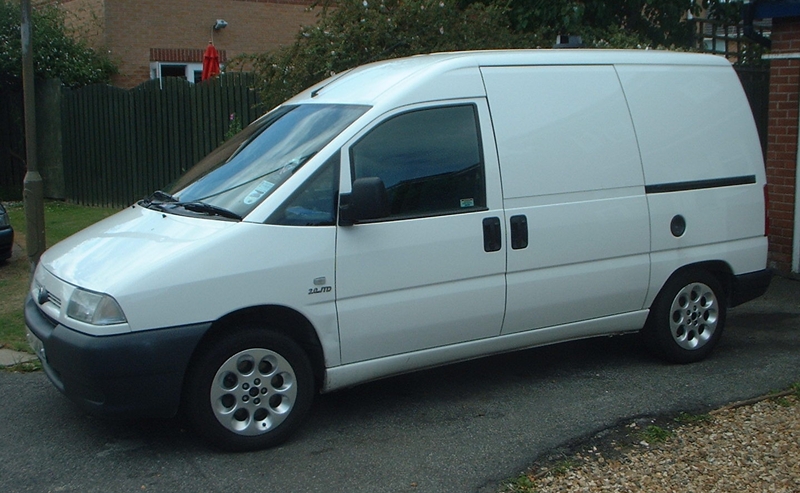
Here's how it all started last week :
43k on the clock, FSH (ex lease) and the quietest oil burner I've ever heard (2.0l JTD - plenty of poke!). All for much bargain-ness!
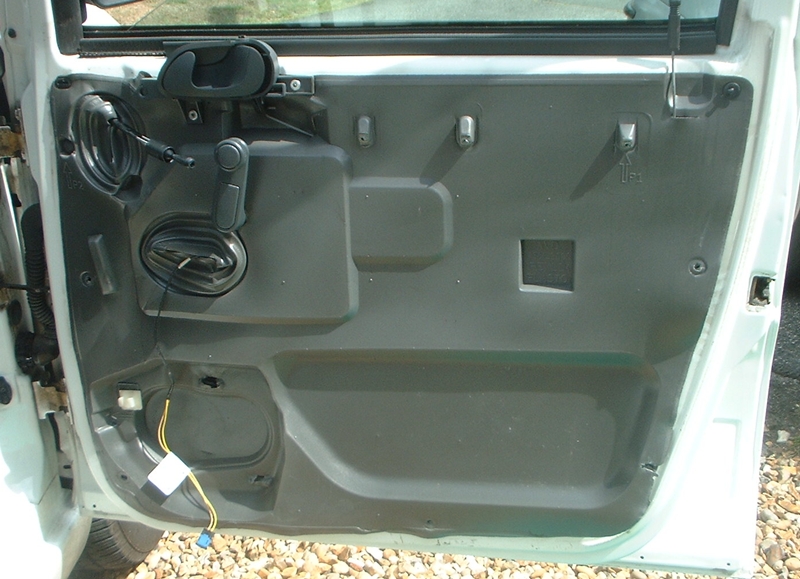
It was all bulkheaded and ply-lined - uhgggggghhhhhhhhhhhhh!
But that soon changed!
Copious amounts of 'Flashband' followed :
Followed by the 'tried and tested' foil-backed insulation (first layer) :
More sound proofing under the cab floor :
And a good scrub for the rubber flooring :
Full length headlining (from a combi) is on its way, to be retrimmed in something nice and loud.
Rear plastics (from a taxi) are also on their way to help tidy up the back.
Ply floor covered in Altro will be done.
Basic rear seat / bed combi will be fabricated and that will basically be it.
Pics and progress to follow.....