Scottish Bloke's Van Conversion - Work in Progress!

just a little tip=for holding things in place whil waiting for glue to cure,get an electric glue gun ,leave room on the lath or whatever for a few dabs and stick it up with that
 
Back again! Briefly..

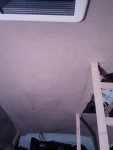
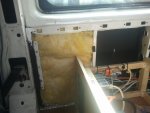
Dug out a few more pics so I'll chuck them up. Once the Electric was in I could start boxing in the sides, the roof was insulated as previous pics and 3mm ply pinned to the laths. The carpet was then added to the ceiling and draped about a foot down the sides of the van to be trimmed and finished later. I bought the carpet and glue from mega van mats from ebay. Excellent stuff highly recommended.
2011-11-22 19.27.22.jpg

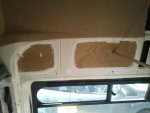
Some of the box sections were also boxed in to leave a flatter surface to work with, 3mm ply bonded to the steel frame of the van, this would all be carpeted over later. You can see where the roof carpet has been draped down the side and how easily it has been moulded round the shapes of the van.
2012-03-25 14.05.20.jpg
And one of the carpet going on with bathroom frame in view on the right.
2012-03-25 19.34.48.jpg
Leccy all done....for now, can start insulating round about
2012-03-25 14.08.53.jpg
 
Last edited:
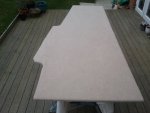
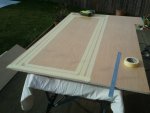
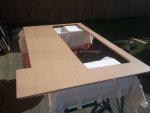
Bathroom was one of the next big jobs, front panel would be as much as possible one panel with a door cut out in the middle. It's the intention to have a shower in here eventually hence the door bottom hole being raised from floor level. A second smaller panel was needed to box in the electric box/seat.
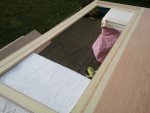
The rear of the front face panel had a piece of white plastic bonded to the rear to accomodate the shower later.
2012-03-10 14.46.42.jpg
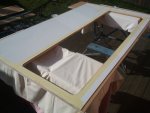
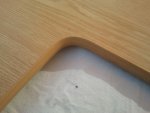
Hole cut, roughly with jig saw then finished off with router, (definately the best tool I've ever bought)
2012-03-10 14.59.38.jpg
Flipped over and plastic cut and routered.
2012-03-11 14.27.10.jpg
And door edge grooved out (trusty router) and knock on edge trim fitted
2012-03-11 14.20.45.jpg
2012-03-11 14.21.14.jpg
Amazingly this didn't take two minutes like it did to post this, that lot took me allll day!
 
Last edited:
Front and back panels were made next, I can mostly describe these as being a 'total twat'
The shape of the Transit does not lend itself to making easy templates, it took me a good 3 hours to make the template for the front panel, measuring, trimming, swearing, starting again and then eventually transferring it to the ply for the front end. This would be trimmed on the outer and plastic backed on the inner.
Have another pic!
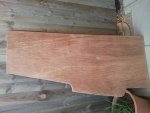
2012-04-01 17.44.25.jpg
And carpeted
2012-04-02 15.41.38.jpg

Believe it or not this piece of wood took 8 hours of my life! and I think that was the easier of the two panels, this one being carpeted, the rear one would be made from the same ply as the front panel so had to be pretttyyyy good. And no, the template from the front didn't suit the rear :-(
Rear panel, another half a day!
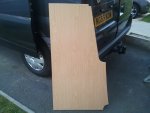
2012-03-26 19.21.24.jpg
Trial fitted with ply fitted to the sides of the van and insulated, all ready for trimming.
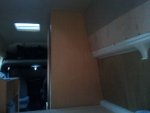
2012-03-25 19.35.30.jpg

And finally side wall carpeted, the joint between roof drape and side wall carpet would be inside the N/S locker as originally planned.
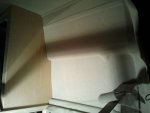
2012-03-26 20.50.04.jpg

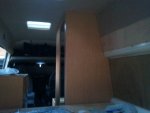
Bed top out and in countless times, along with many other things to fit bathroom/water heater etc but in eventually. Trial and error an understatement!
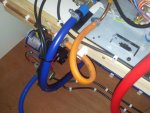
20120606_202331.jpg
 
Last edited:
is my pc missing out the pics or........summatts up..it was the quote ...have another pic that give it away ..is it just me again????
 
Last edited:
It could be a number of things...

Maybe over done it on the bandwidth due to high number of views... or maybe posted photo links as admin and not as a viewing guest link?

Looking forward to seeing them :D
 
Are your images marked as private in dropbox, so that only you can see them? i
 
Not sure if you can link to dropbox for public viewing? Alternatively save them from your dropbox onto your computer and attaching them to a post same as the first few pages...
 
Sorry I cannot be of any more help, I use a blog page to host my images then link them from there.
 
[

Is this image showing? shouild see va knackered running machine LCD display.


hmm ok this
DSCN0910.JPG


Edited again: no dropbox does not work well

edited again
DSCN0911.JPG


AHHH I got dropbox working! sorry about crap image

John
 
Last edited:
Here is how to do it

All images must be in the dropbox /public folder.
Right click the little dropbox icon in the system tray.
select dropbox folder (not launch dropbox website)
Go to image in public folder
Rt click scroll down to 'dropbox' expand this menu item and select 'copy public link
This will put the url 'link' into clipboard

In your post click 'insert image' (not insert web link)
in the box select 'from url' unselect retrieve files locally. paste link previously saved in clipboard into the url box.

should be good to go


John
 
Last edited:
Right! I've *hopefully* sorted the pics on posts 23 onwards. Fingers crossed the majority of folks can see them now, if not I give up!

Can anyone who has posted to say they cannot see pics etc delete their posts now to clean up the thread, thanks for everyone's help :)

Rich
 
Hoorah! :) :banana:

Oooops, forgot to mention, it's coming along well.
 
Last edited:

Users who viewed this discussion (Total:0)

Back
Top