Discoverypaul
Guest
Well it all started a few months back around a camp fire and a fair few ciders it was raining and talk turned to well if its raing in the summer we ain't going to get much camping done in the cooler months . What we need is a camper but the draw back was then we realised if we get a camper we can't going laning anymore what we need is a 4x4 camper but anything on the market is either ridiculous prices or just a van with 4 wheel drive so not a huge amount of ground clearance . Then right there we came up with the idea ....... We could convert the the Discoverys to campers ......yes with that amount of cider it sounded a great idea lol. The next day we had a bit of a laugh about it until that night and a few more ciders and a bit more rain and the topic came up again ...............
Well it's now a few months later and guess what it turns out it wasn't such a bad idea lol
So I took plenty of pics through the build some of which are below
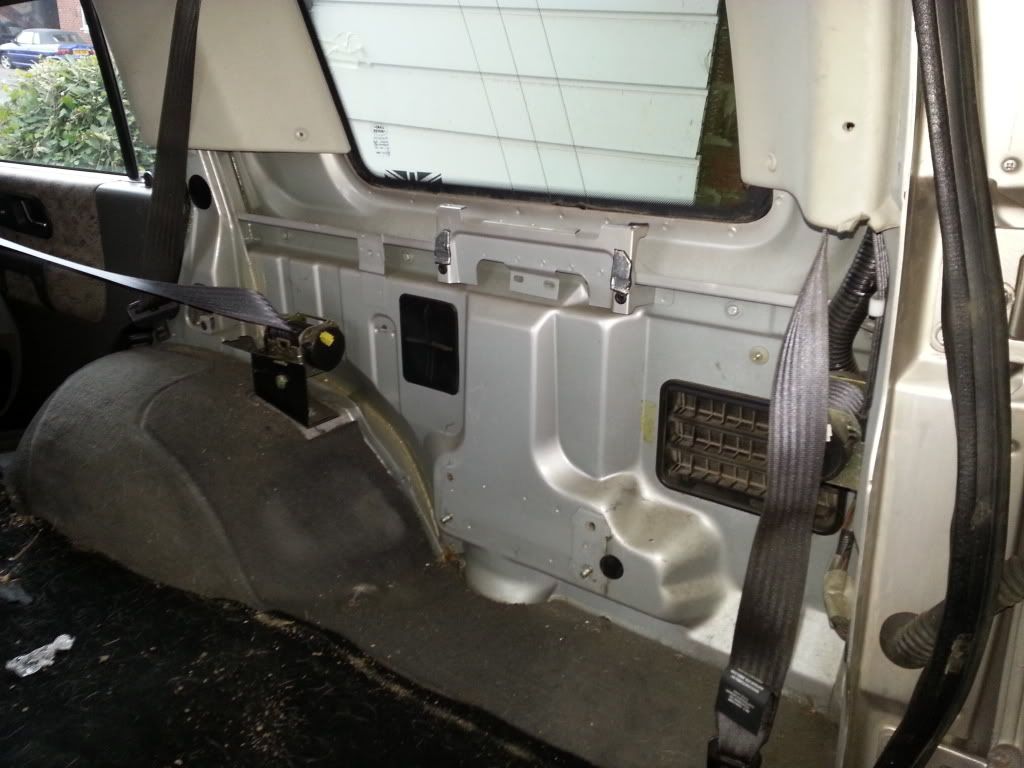
So day one I moved the seats forward and side trim panels to reveal a lot more space than I thought
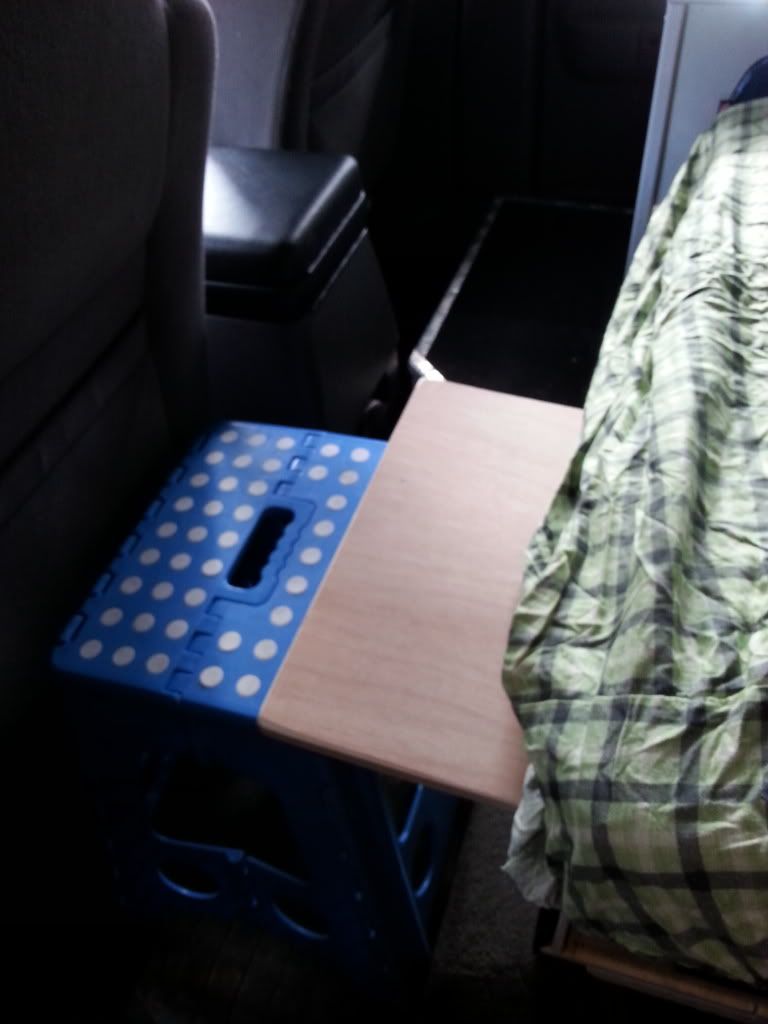
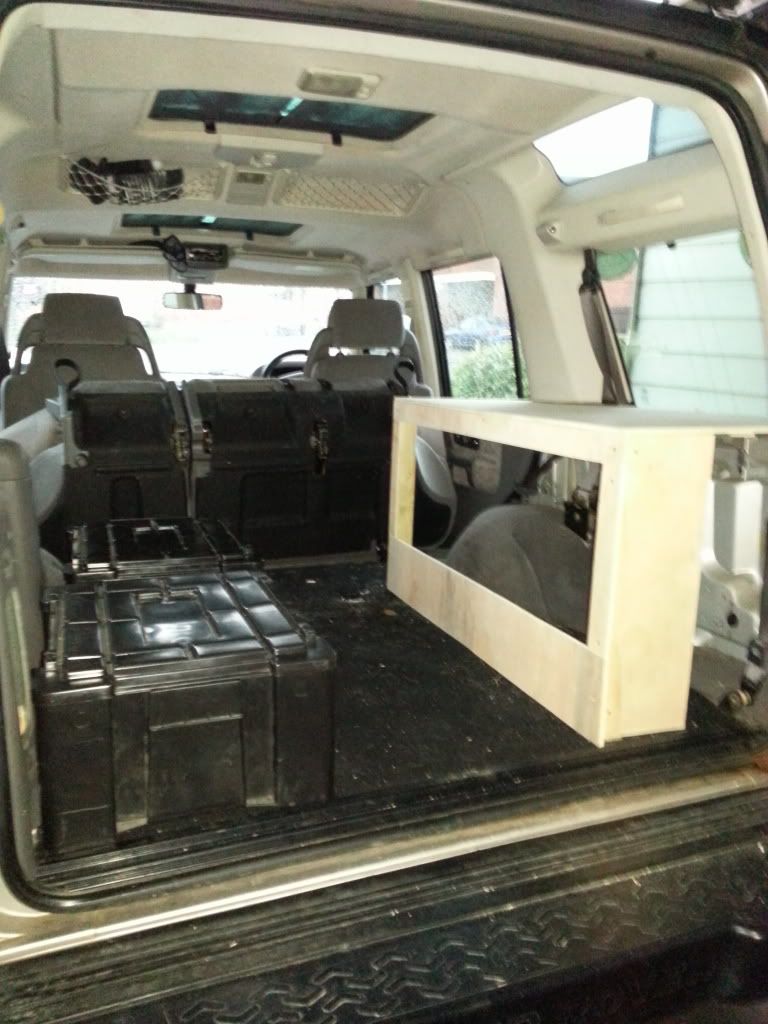
So before I fully committed I built a quick mock up of what I wanted of a unit and used a wolf box as a seat box to check for head room etc
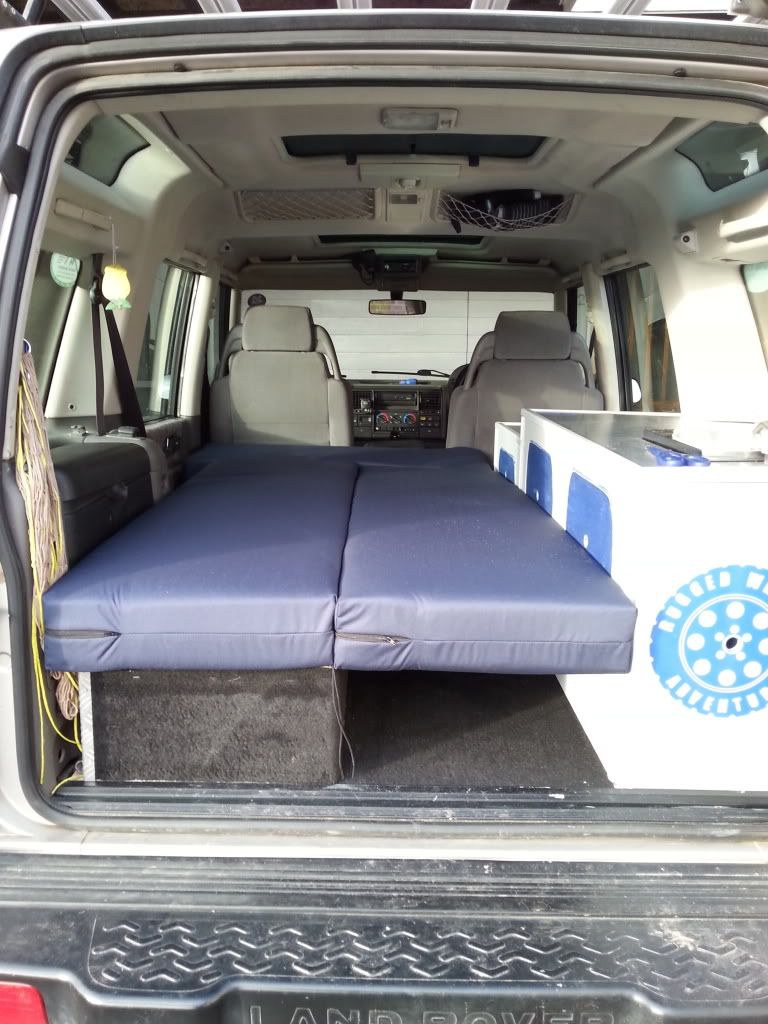
Quick bed mock up and measure up and I will end up with a bed 6ft x3ft

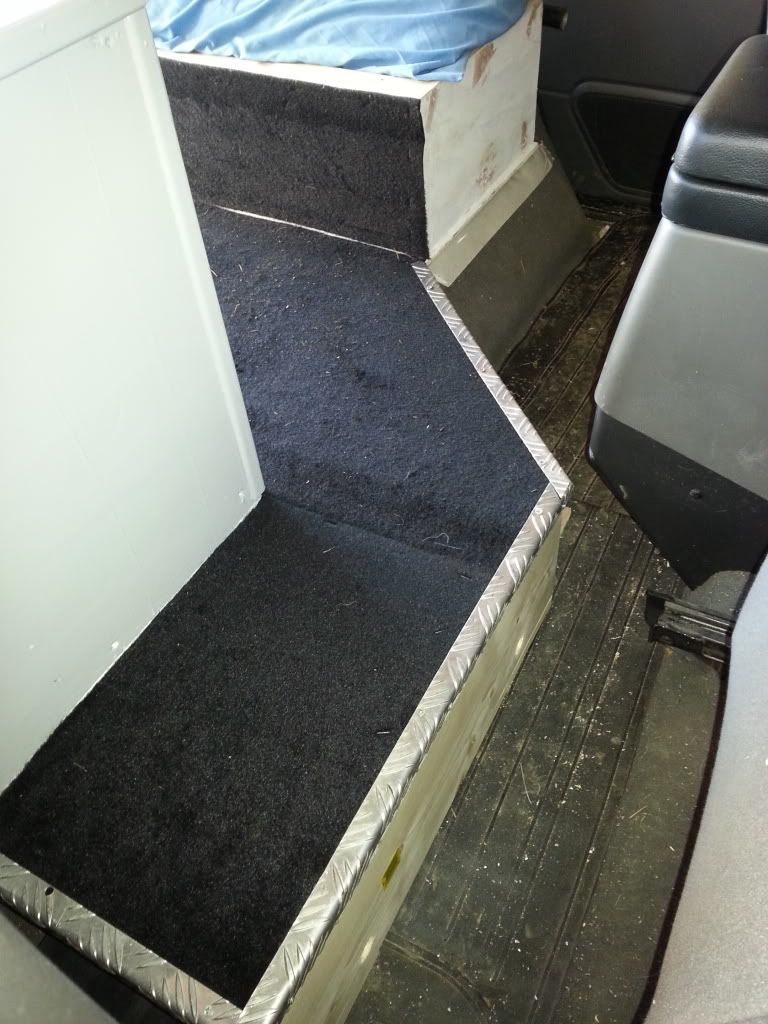
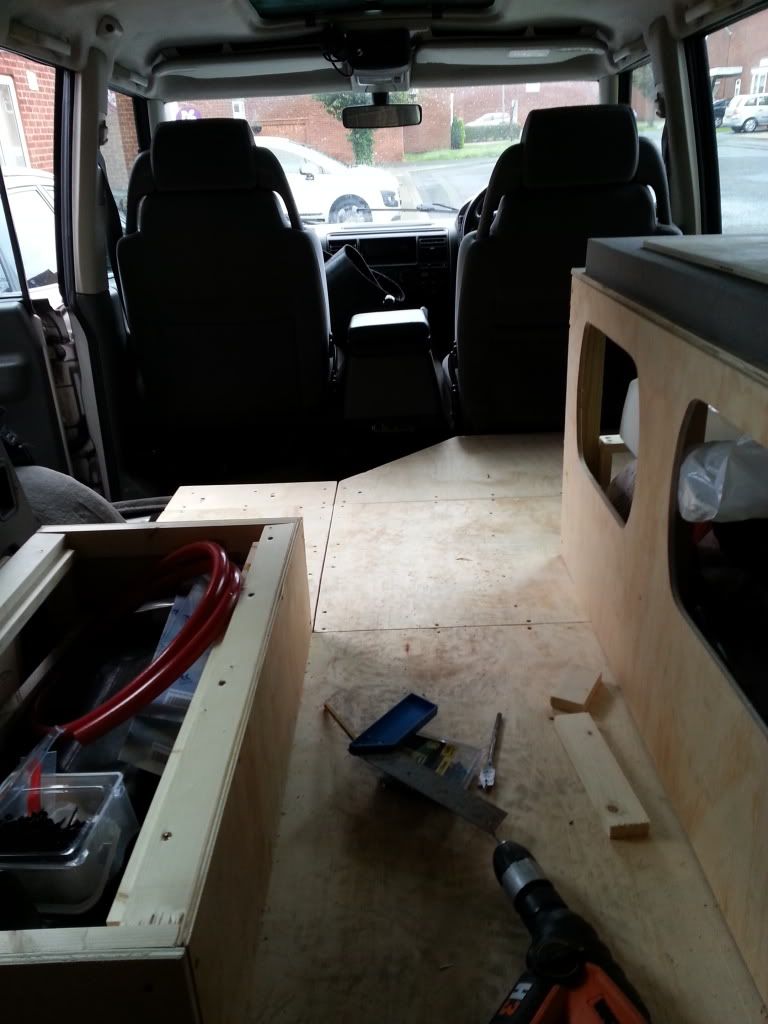
So we got the first part of the floor in and the base of one of the bed boxes
A bit more of the first bed box fitted
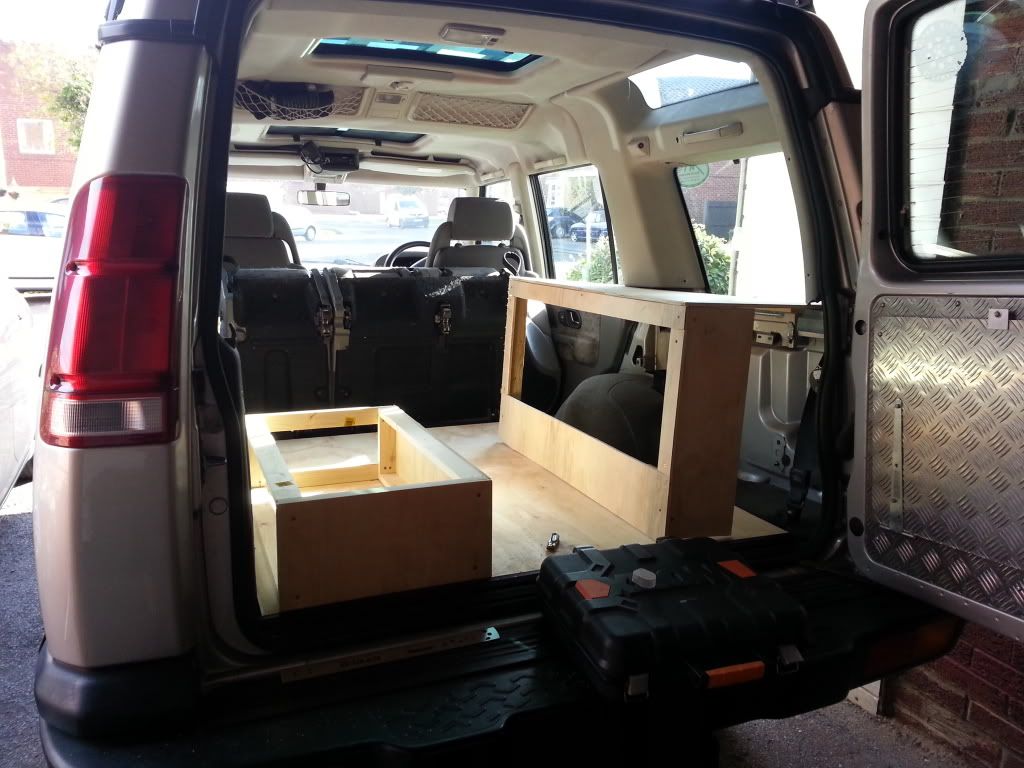
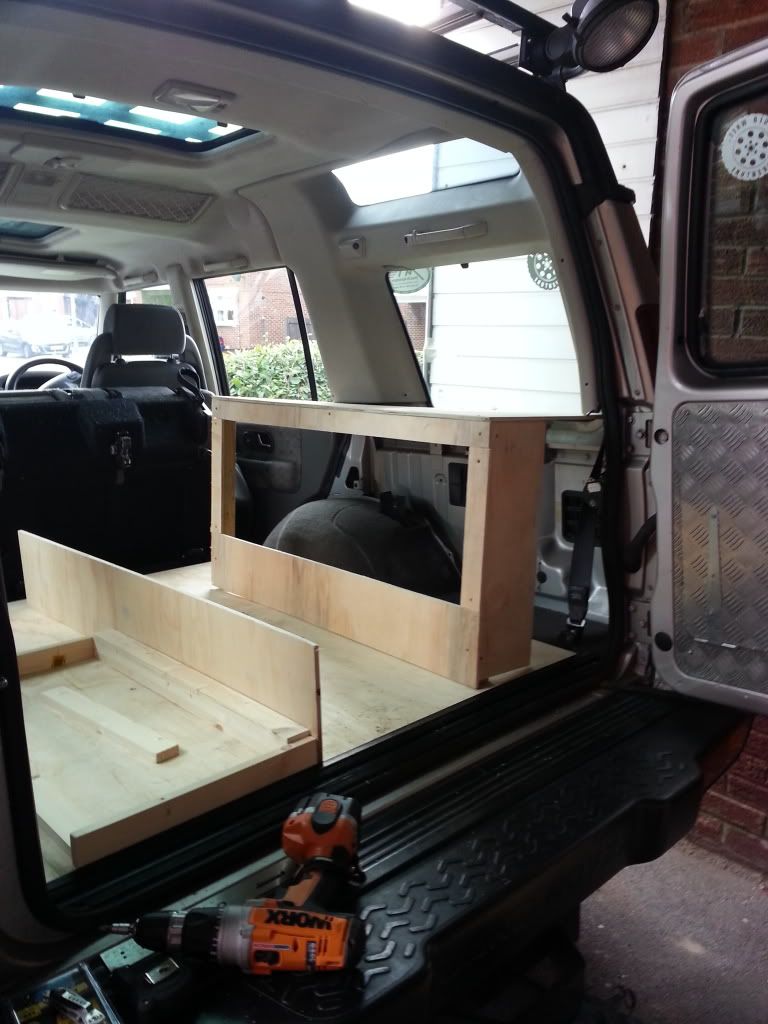
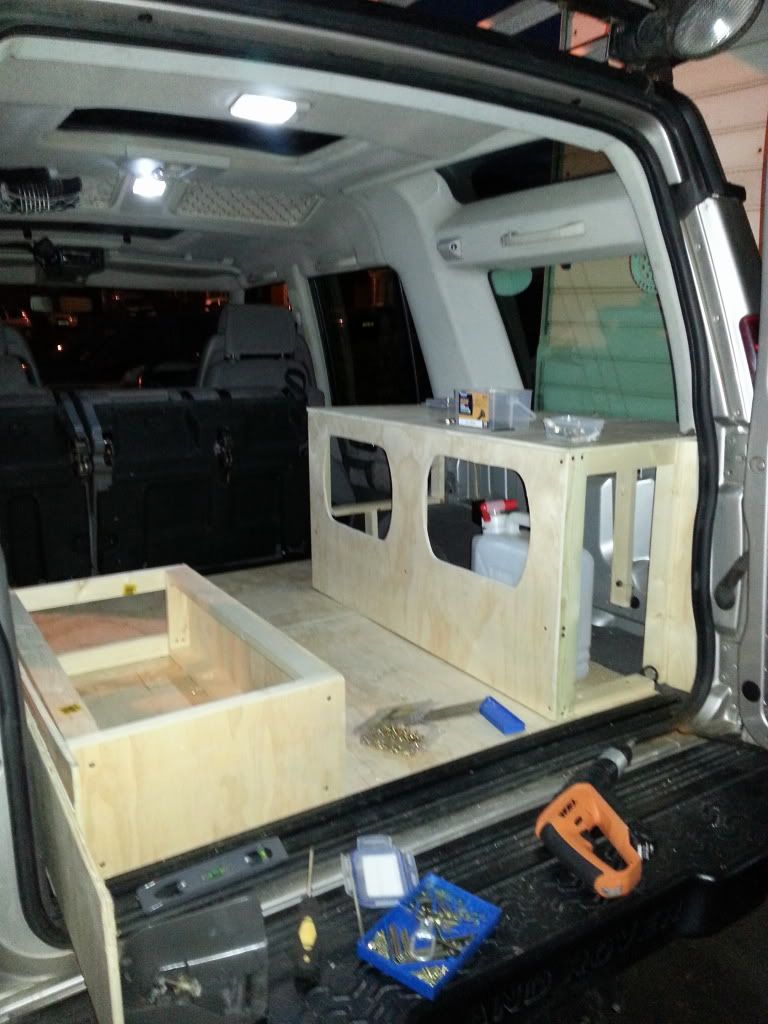
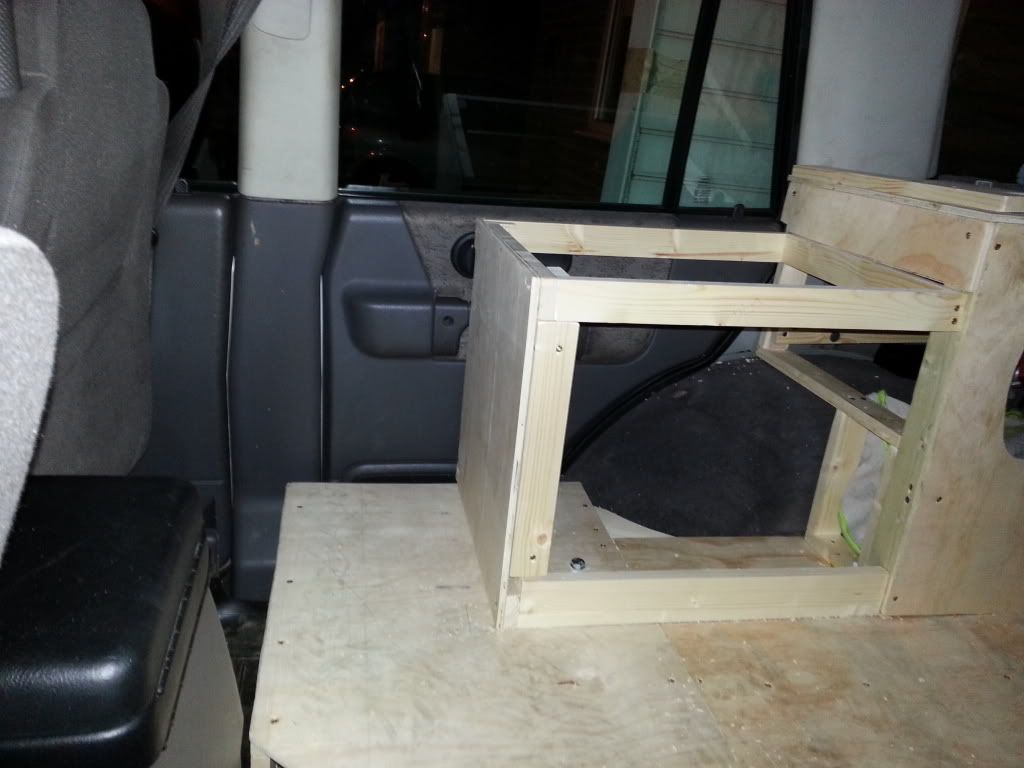
Started on the main unit now
Reinforcement batten on the back of the unit for fitting the bed later
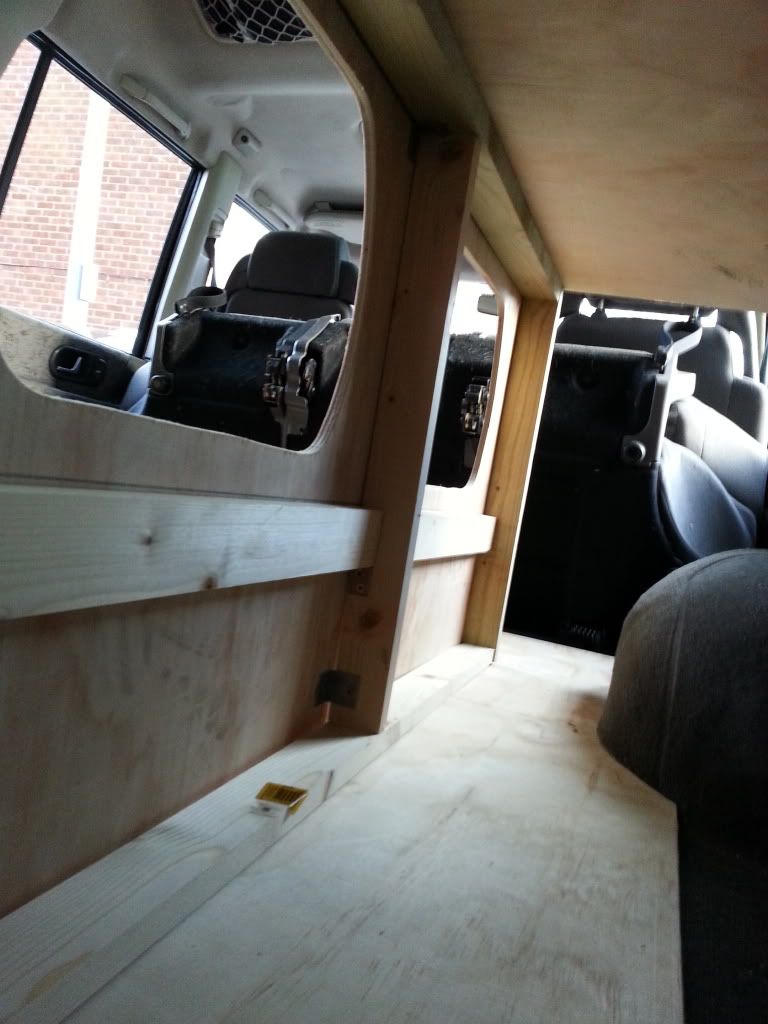
Reinforcing and creating the end panels and frame and fixing in to the discovery
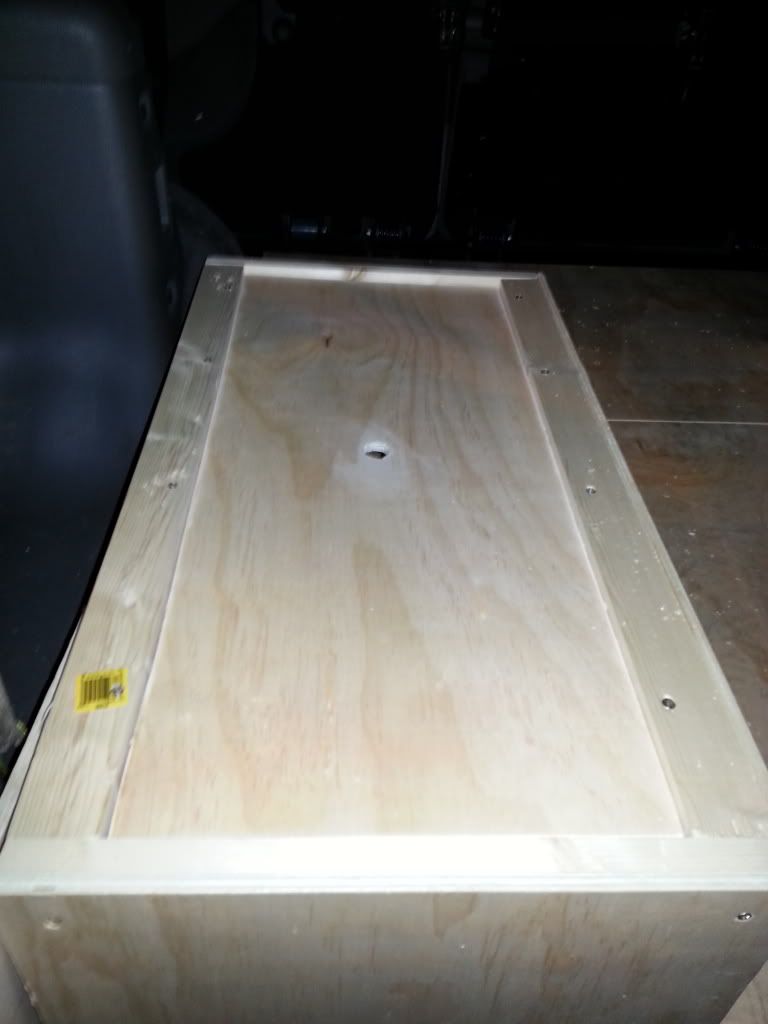
Lid for one of the bed boxes
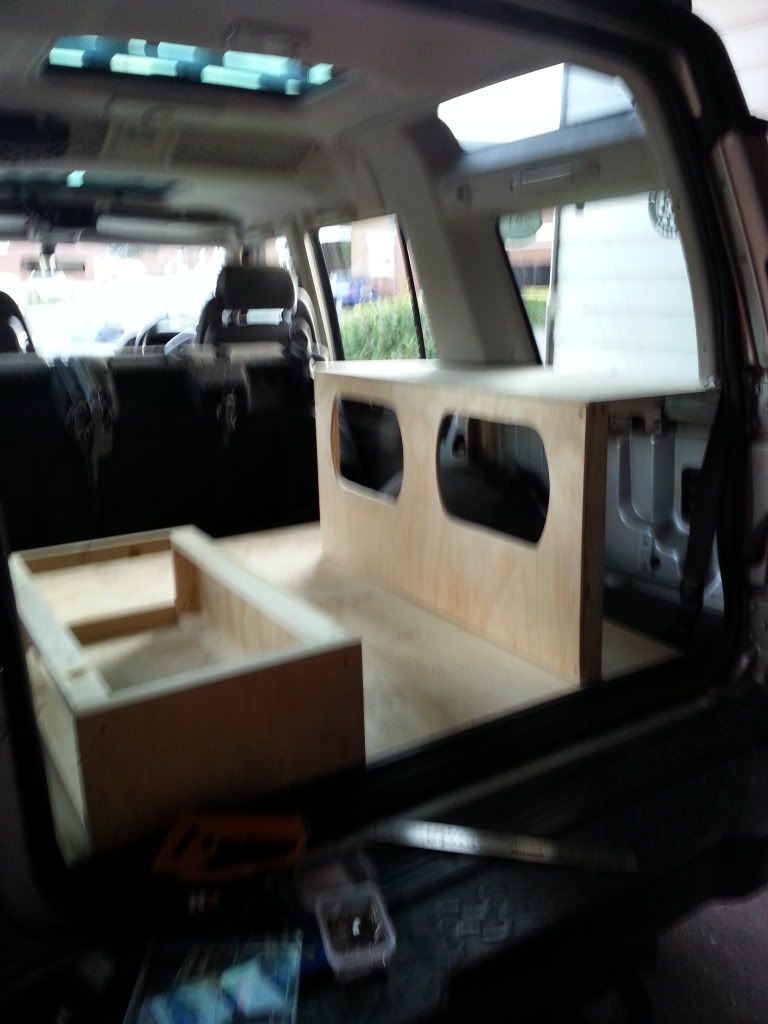
End of unit finished off with a panel and a bit of foamed added for a test fit
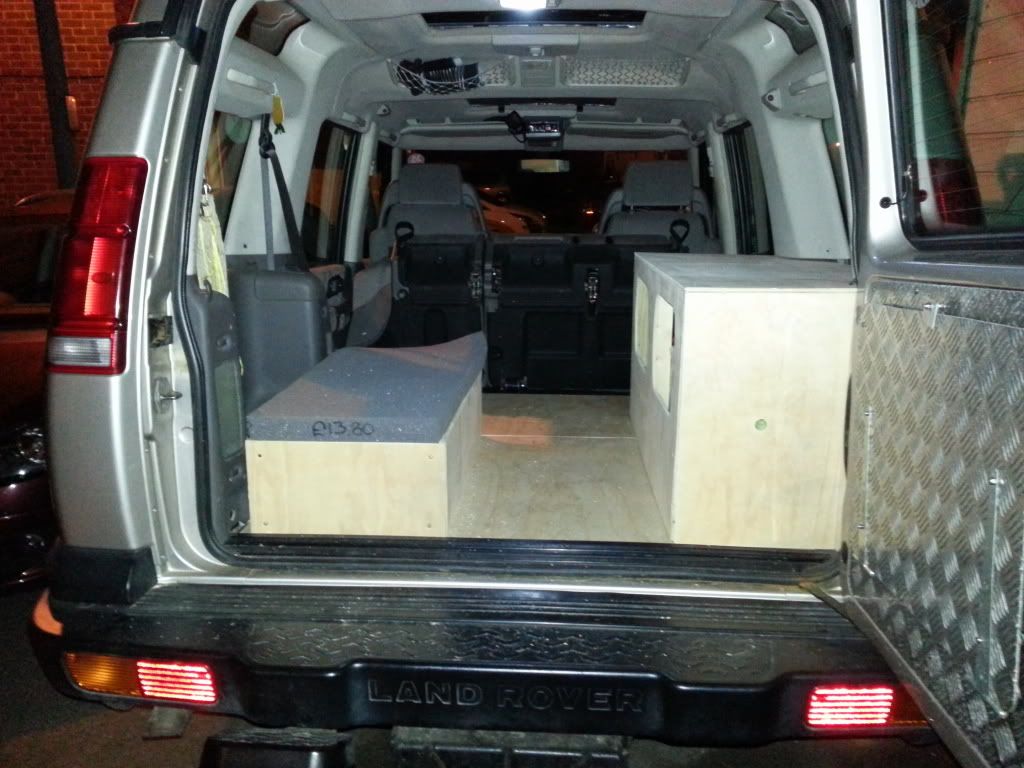
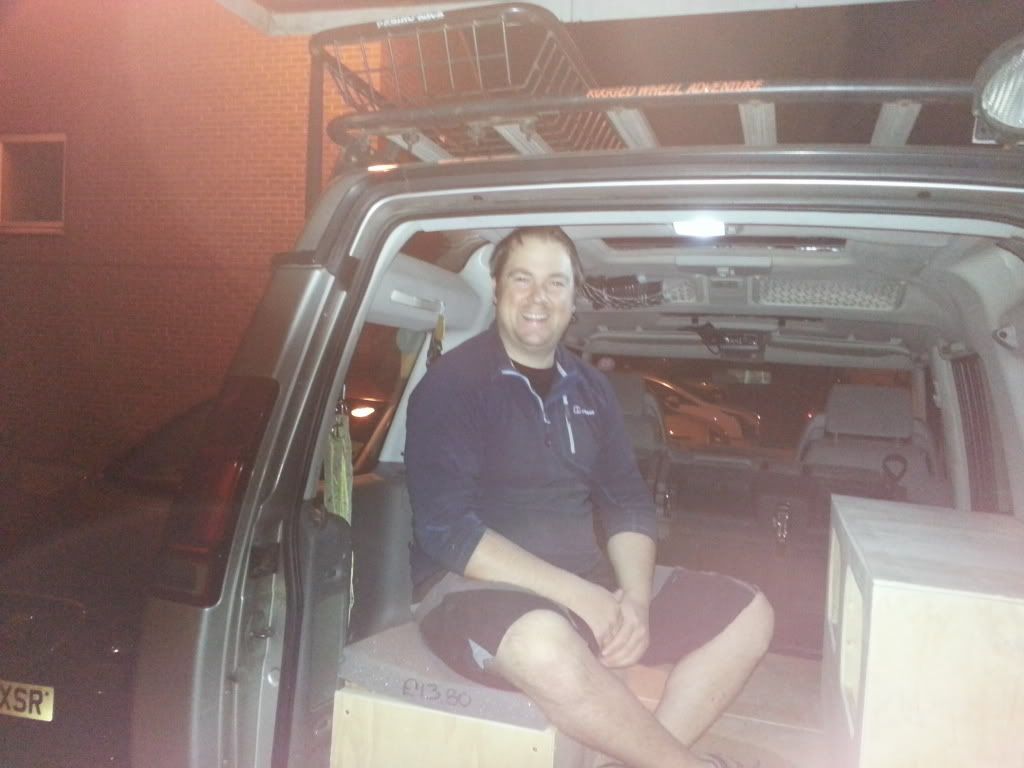
First test fit
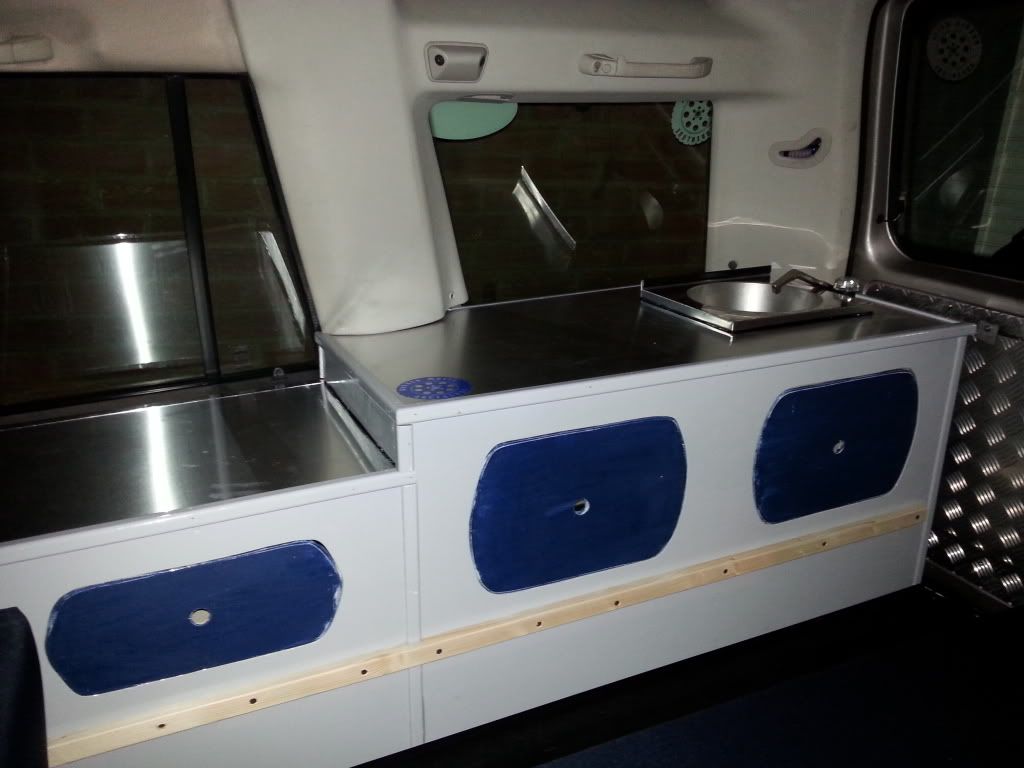
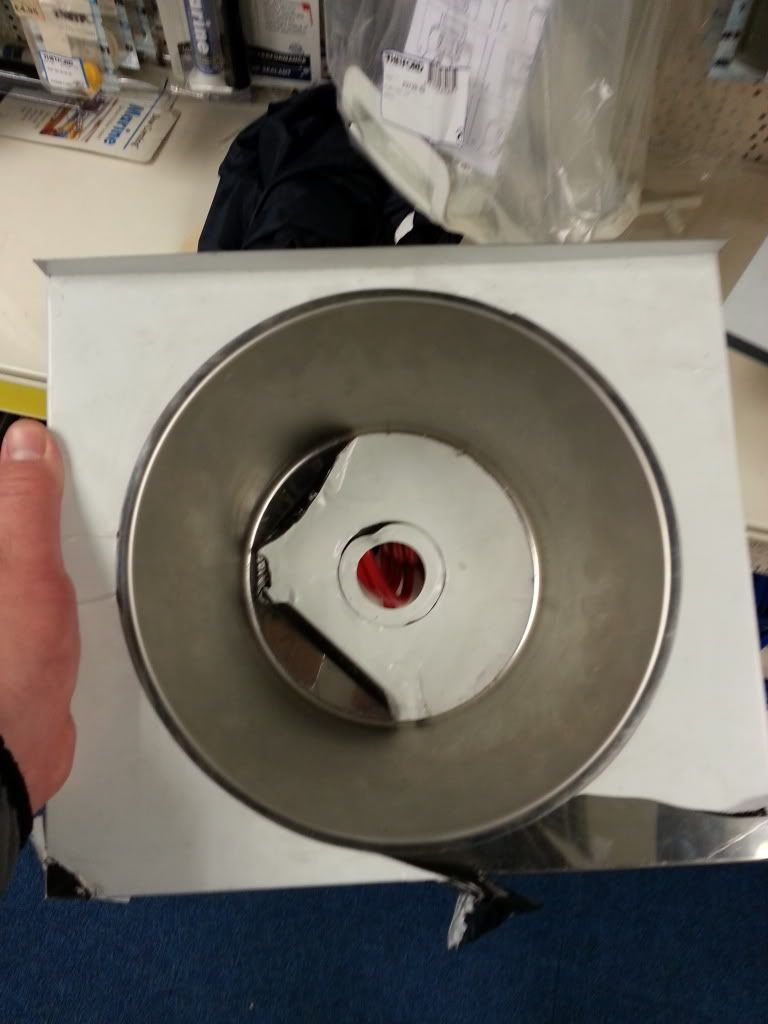
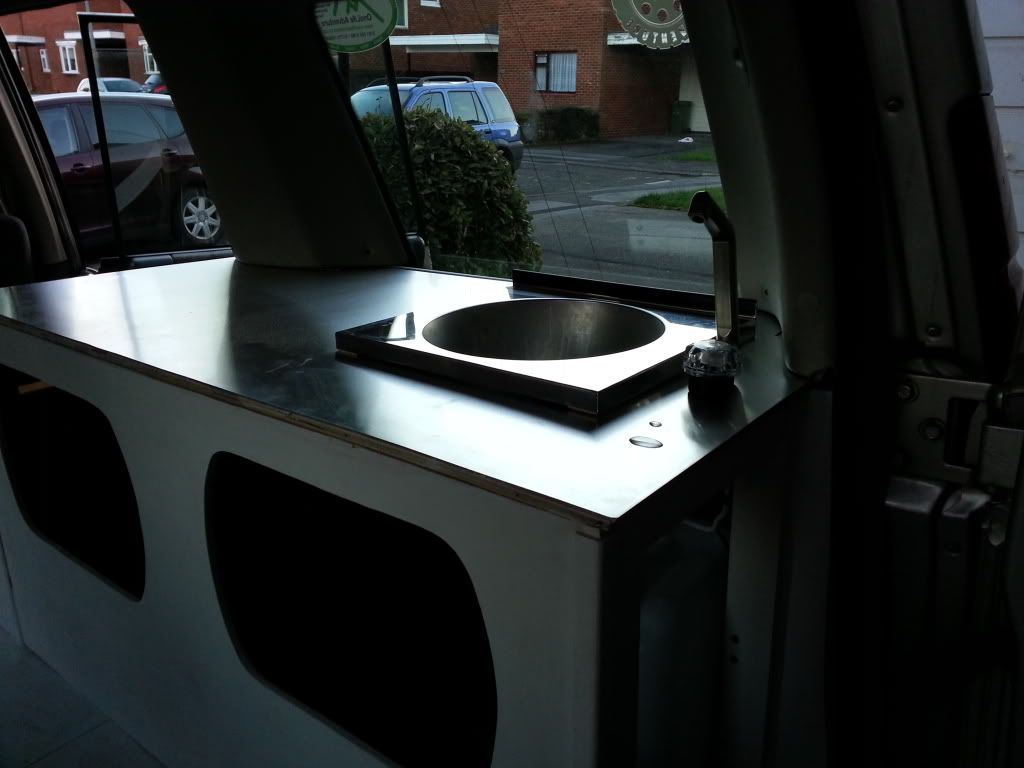
Sink
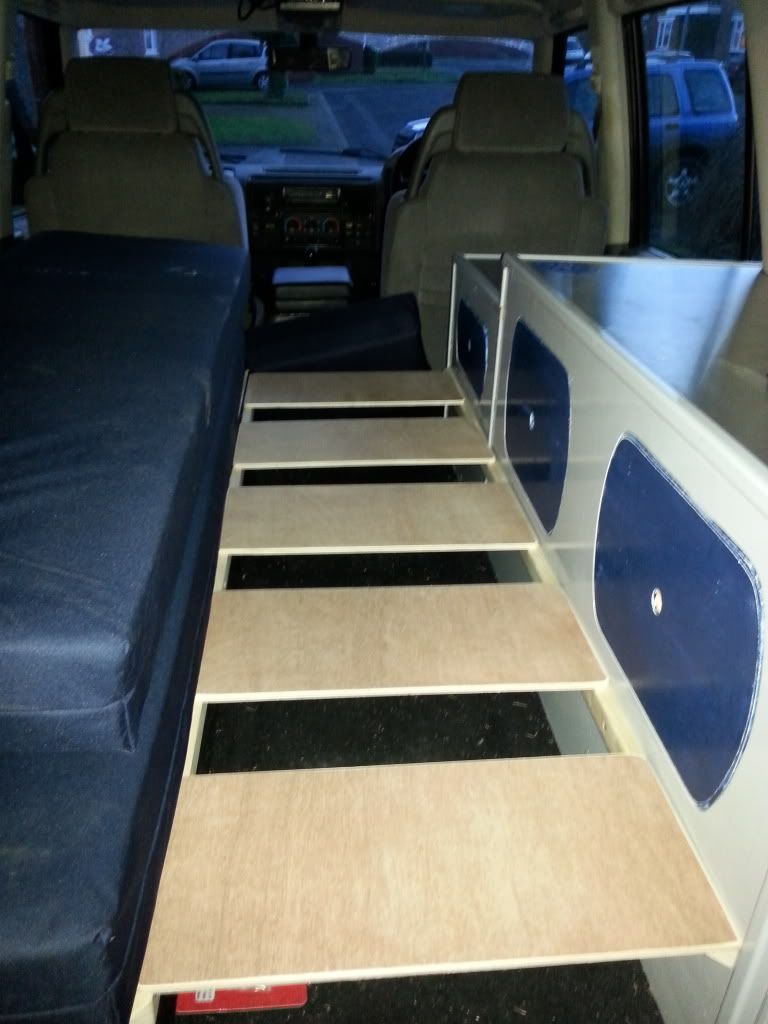
Rest of the floor finished off . I have cut it like this so I can access from the passenger rear door and the back door.
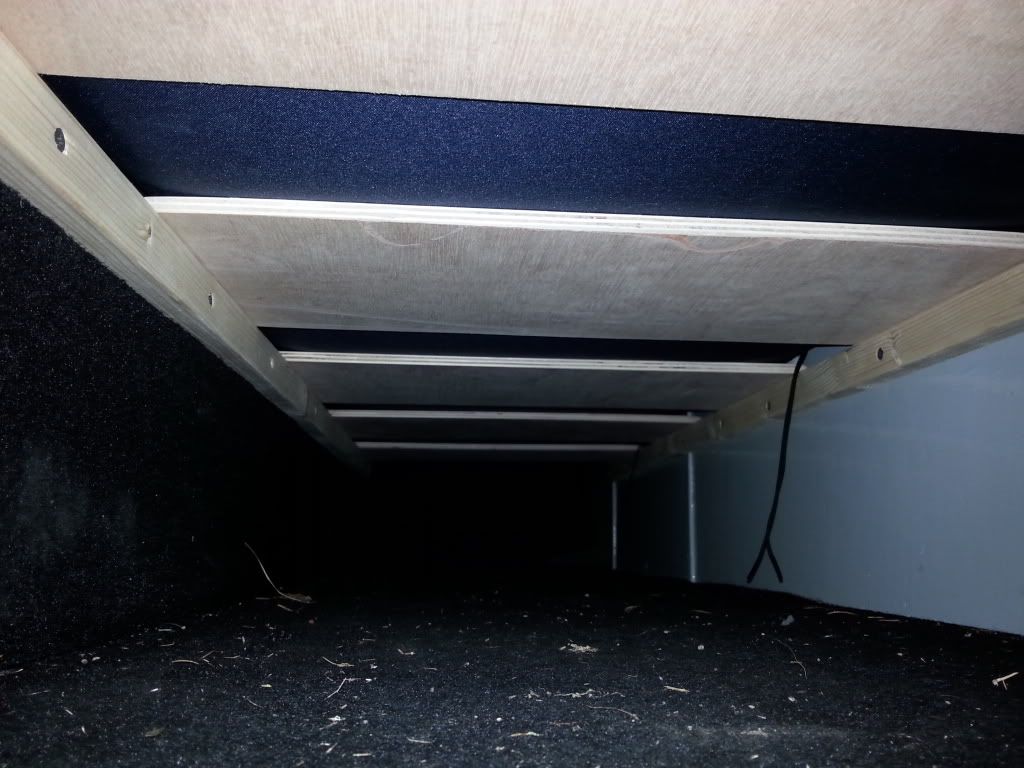
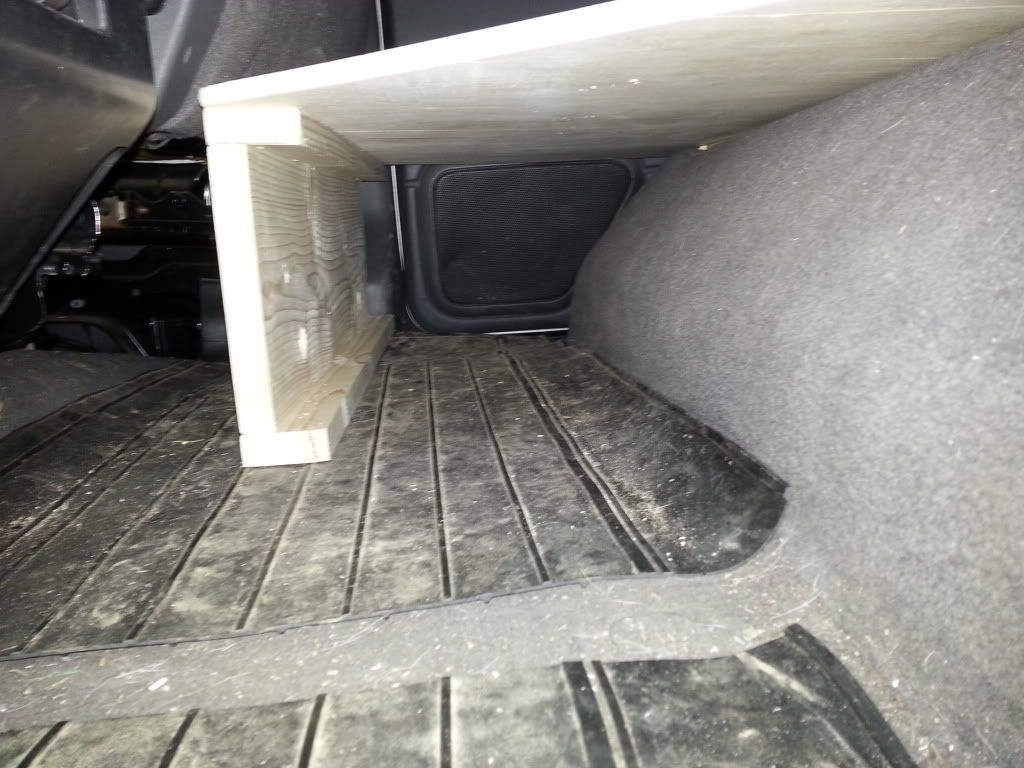
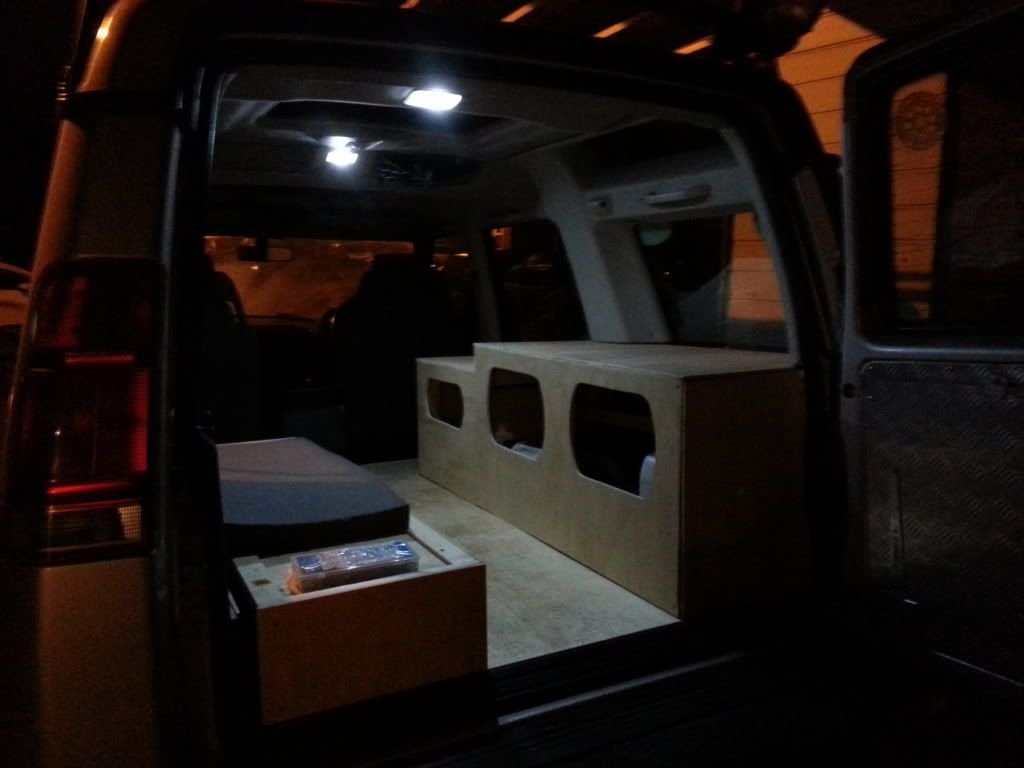
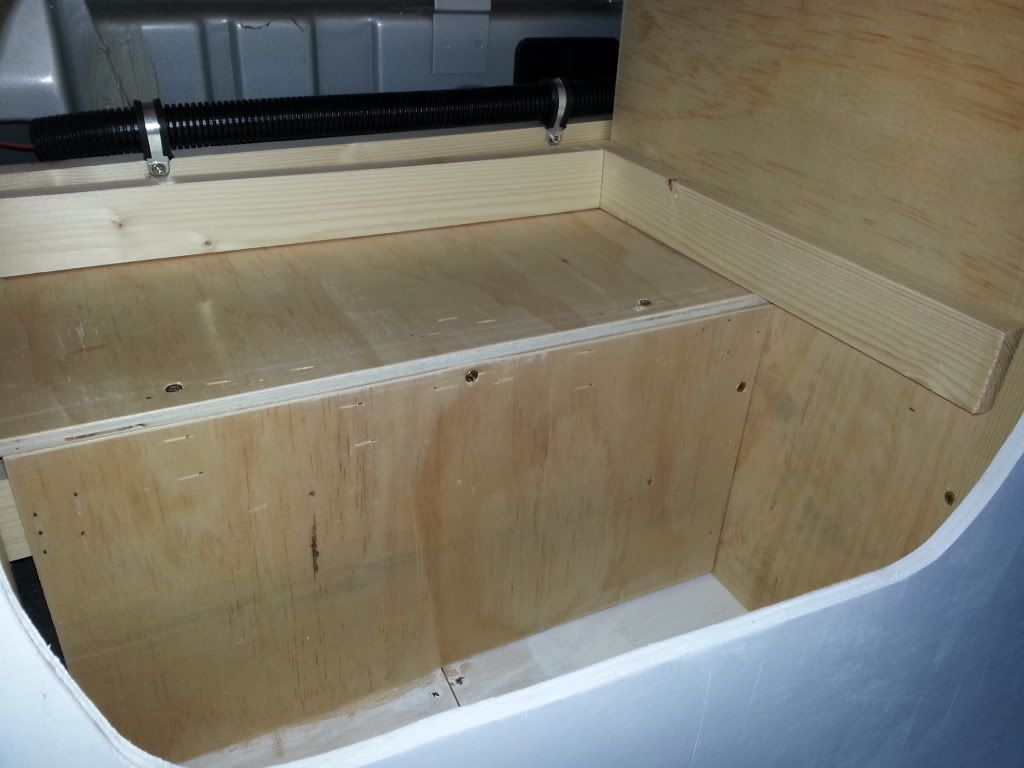
Storage under the floor
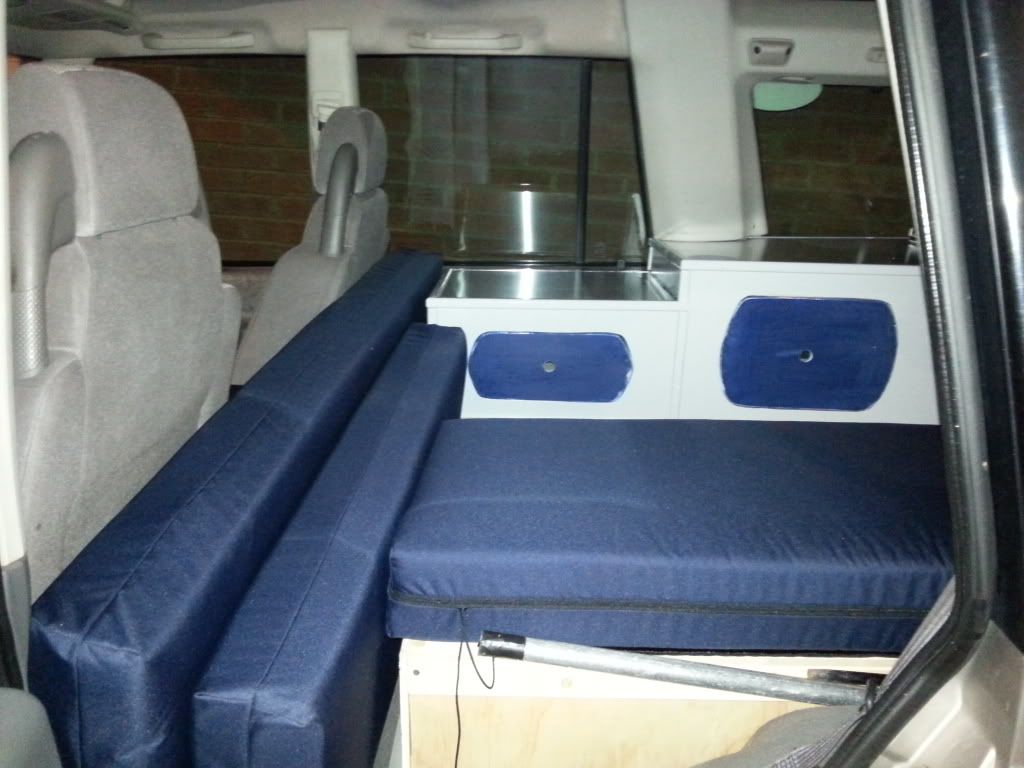
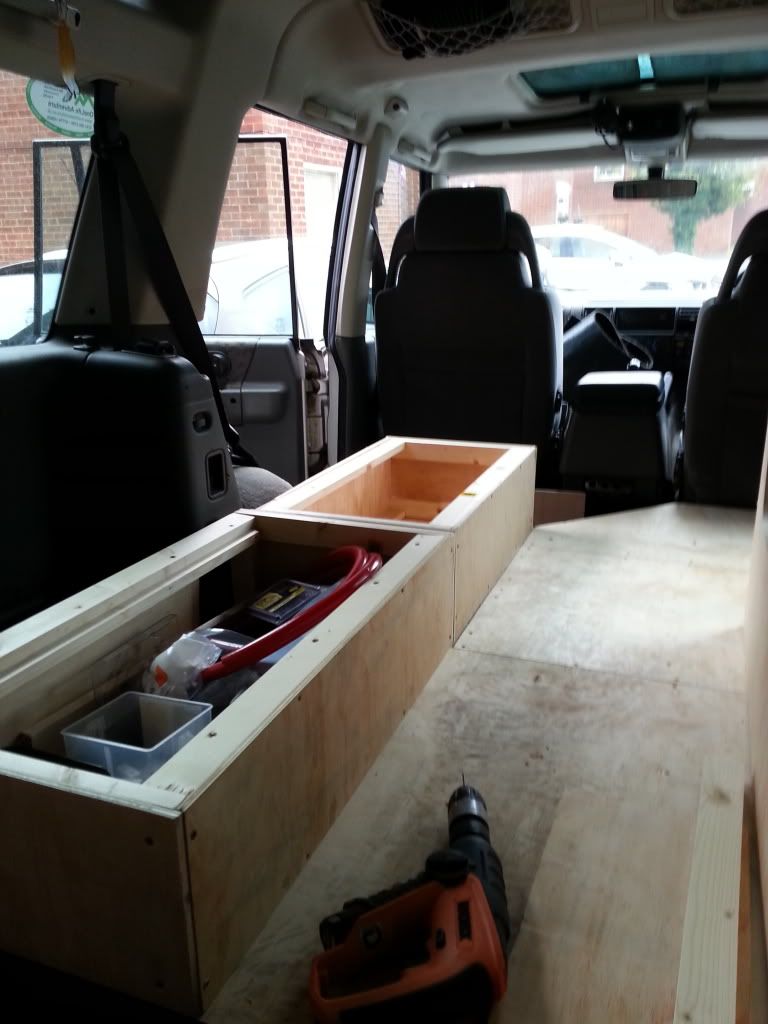
Second box built which is removable so I can have the discovery as a 3 seater when not being used as a camper
Made a start on the second part of the unit
Front panel added
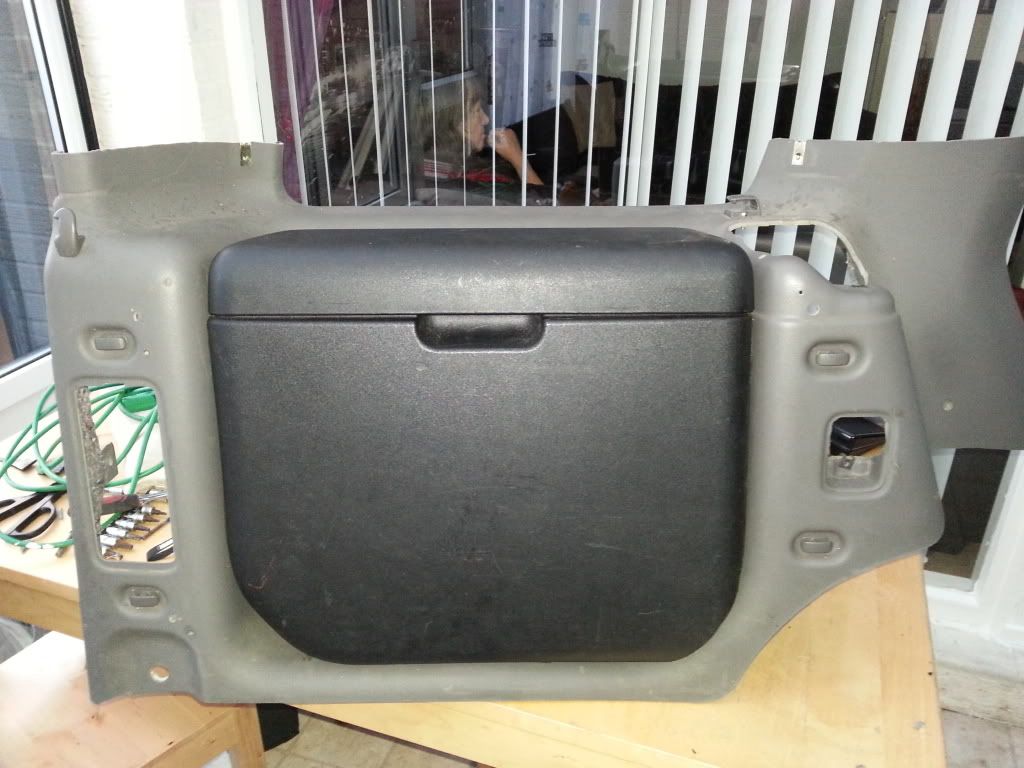
Modified a side locker box from the right side to fit on the left hand side yes it's the wrong colour but it was foc lol
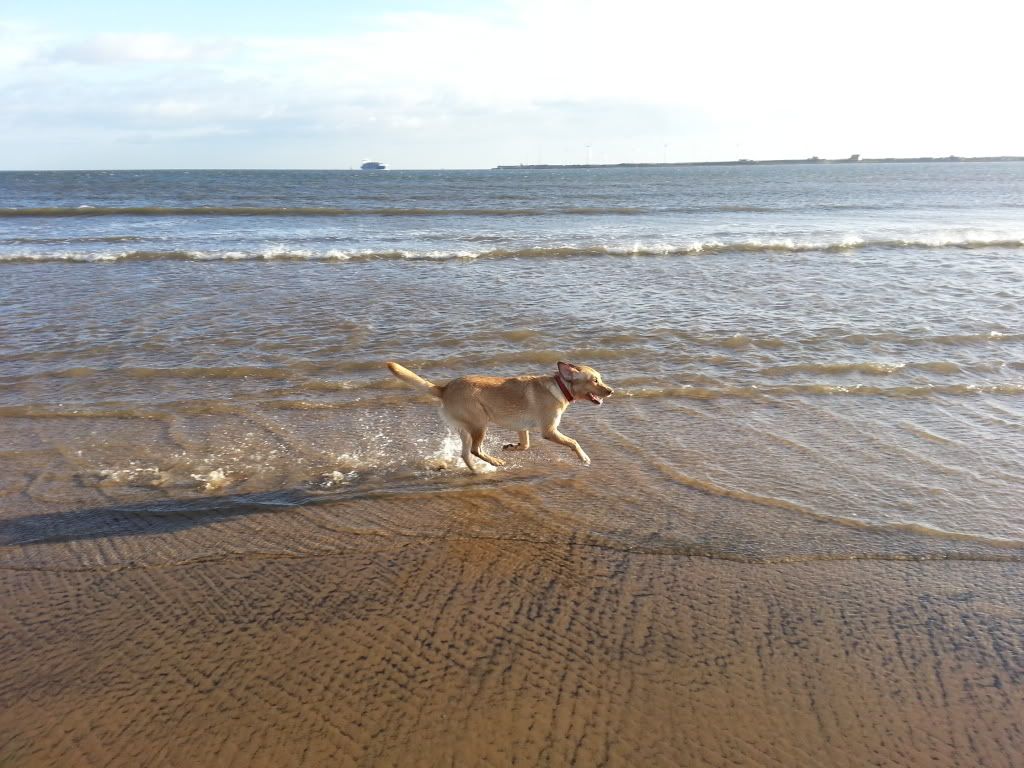
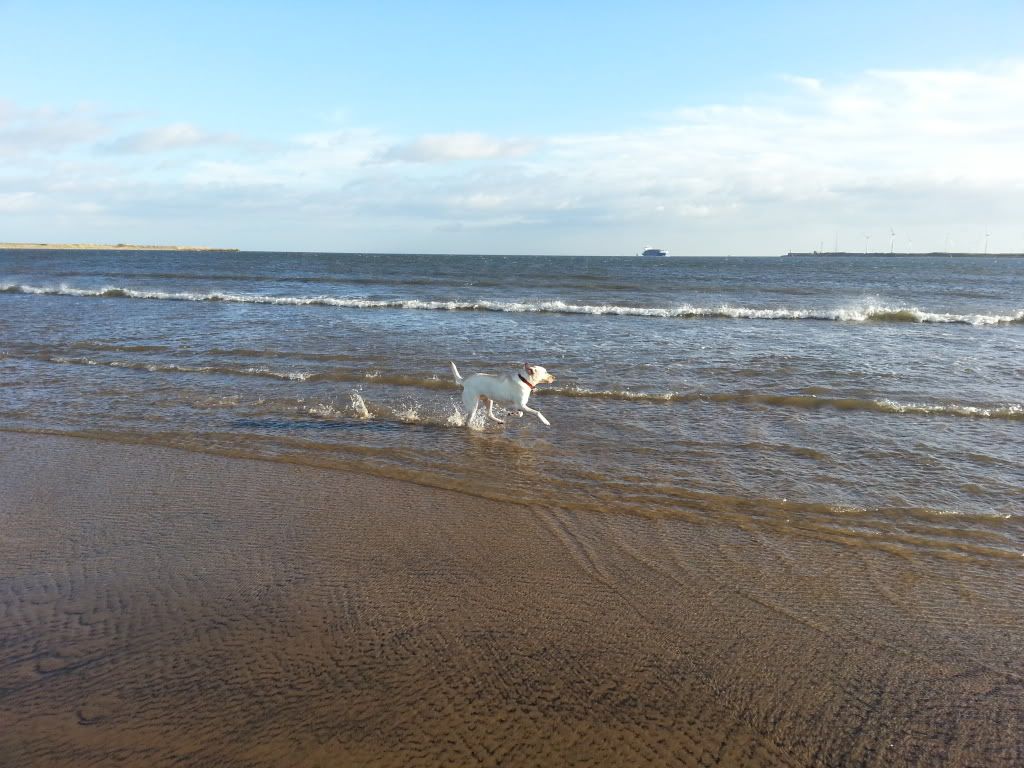
Took the afternoon off and took the dogs to the beach
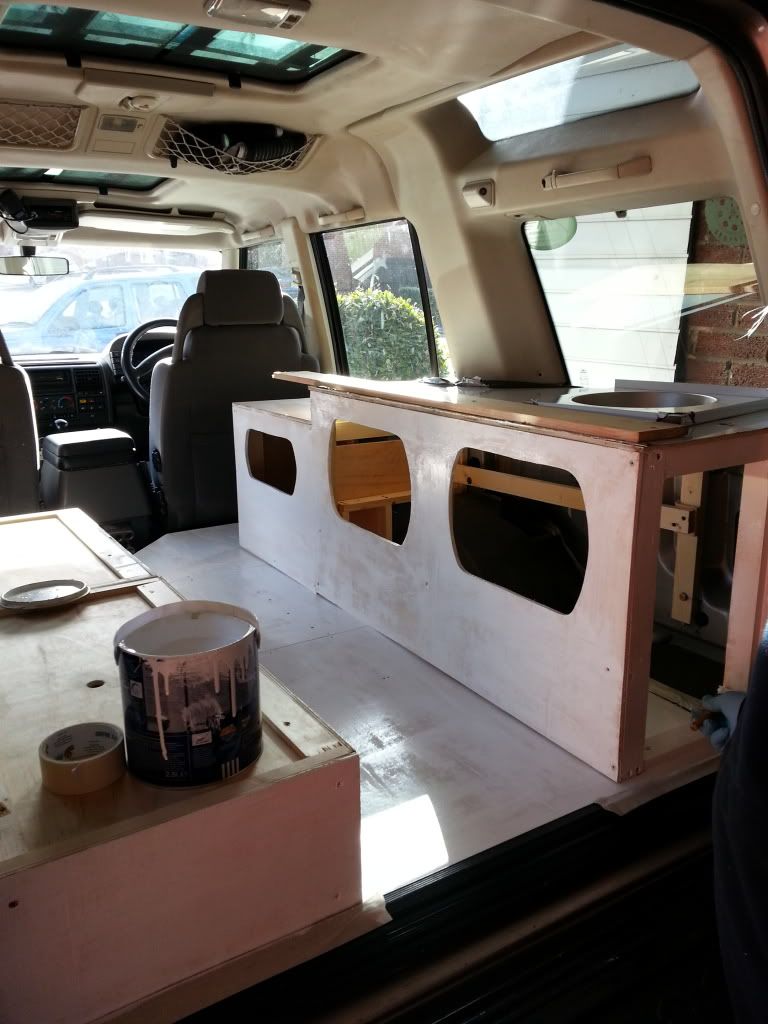
Test fitted the sink and a coat of undercoat
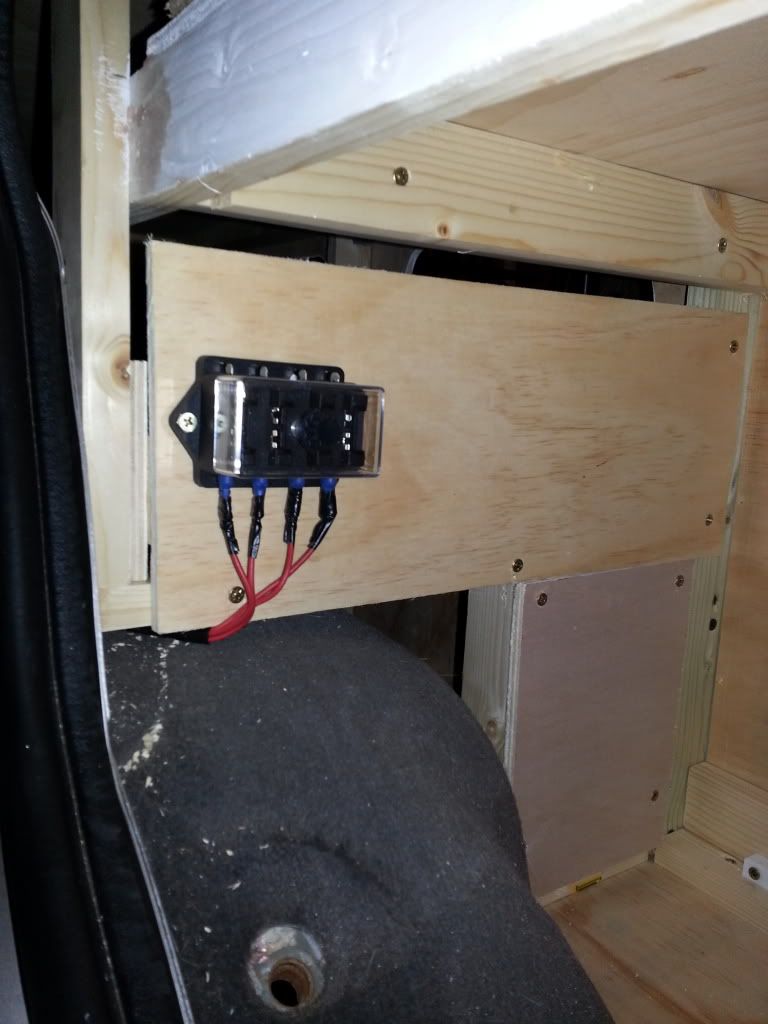
Small fuse board for tap and future items
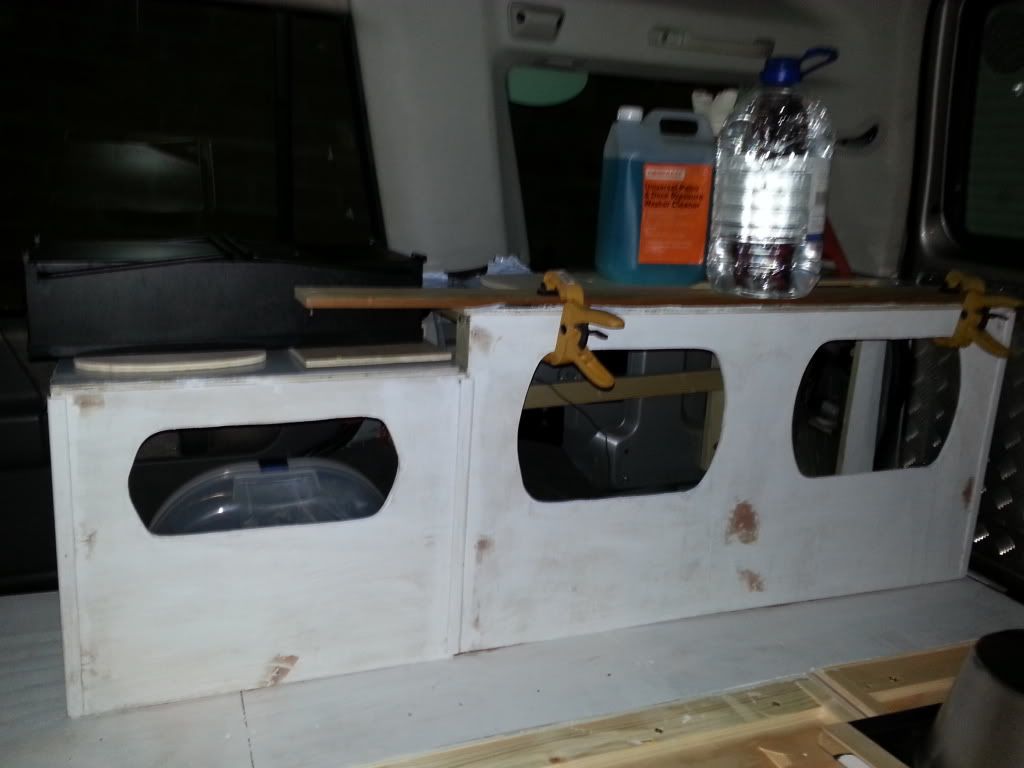
Clamping and weighing down the aluminium work tops
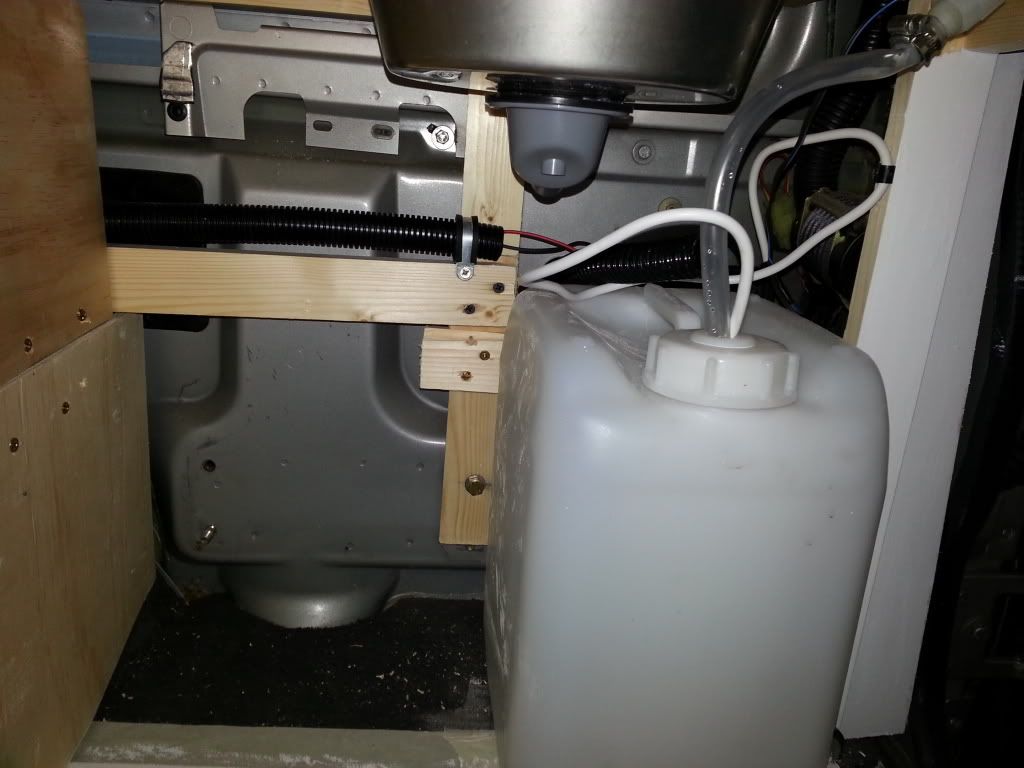
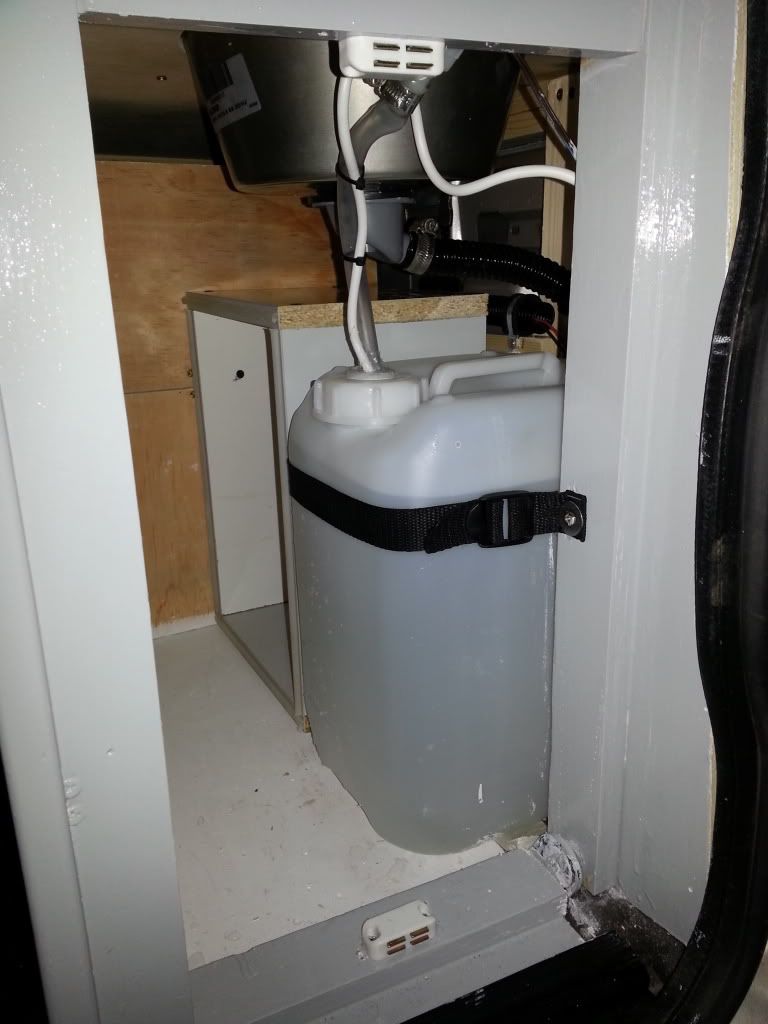
Plumbing in and started tidying up the wiring through tubing
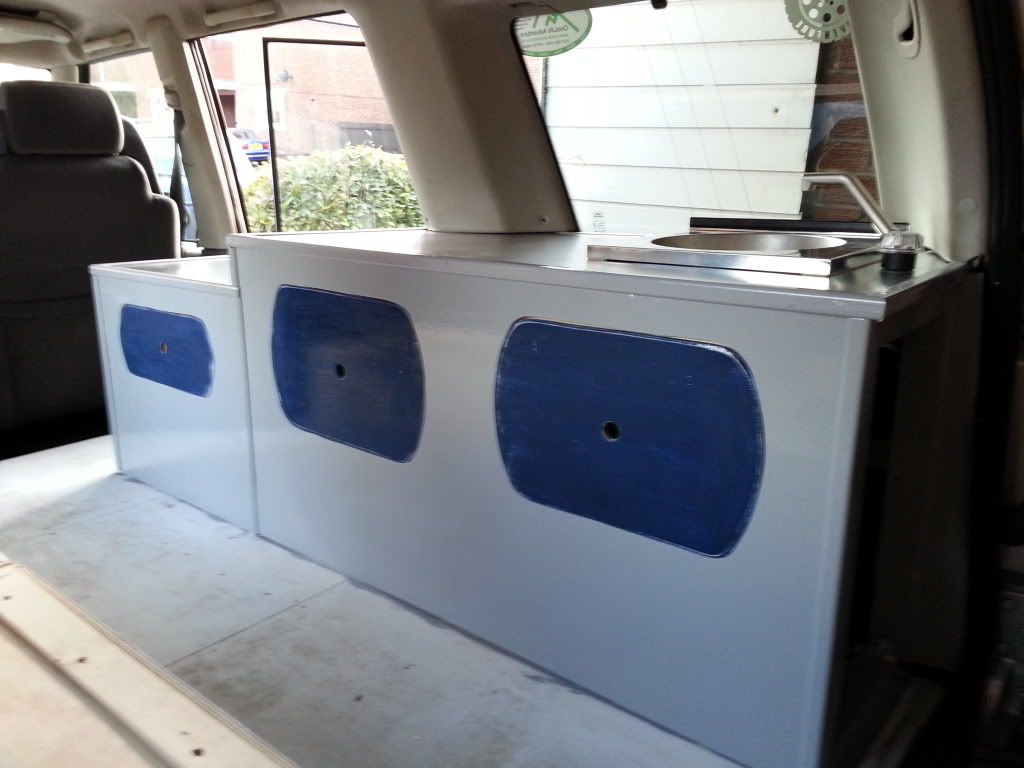
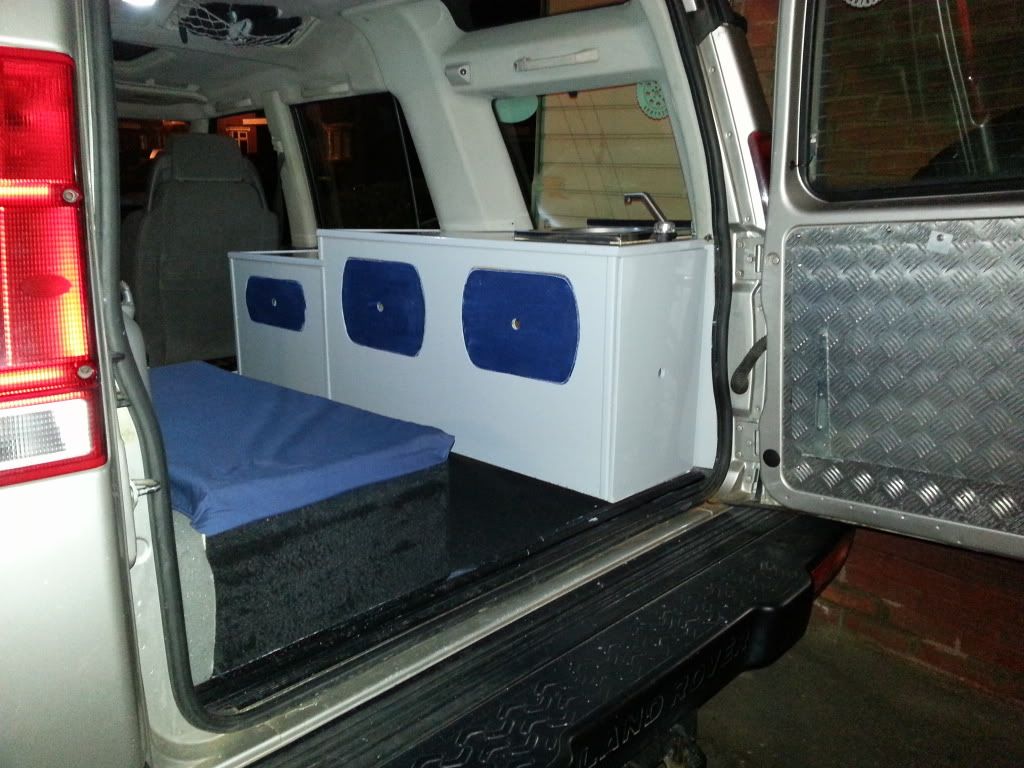
Work tops in
Starting to box a few things in")
Doors given first coat and Edging added and final coat of paint
Water strapped and some shelving added
Carpet added
RWA graphic added to the end panel
First part nearly finished
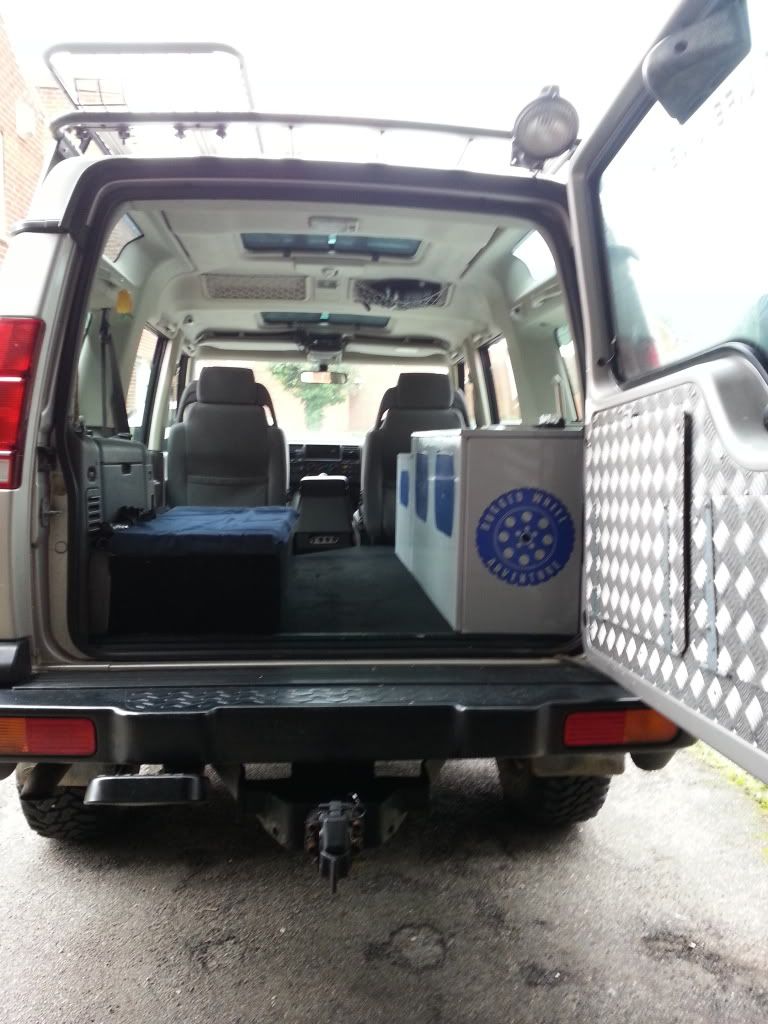
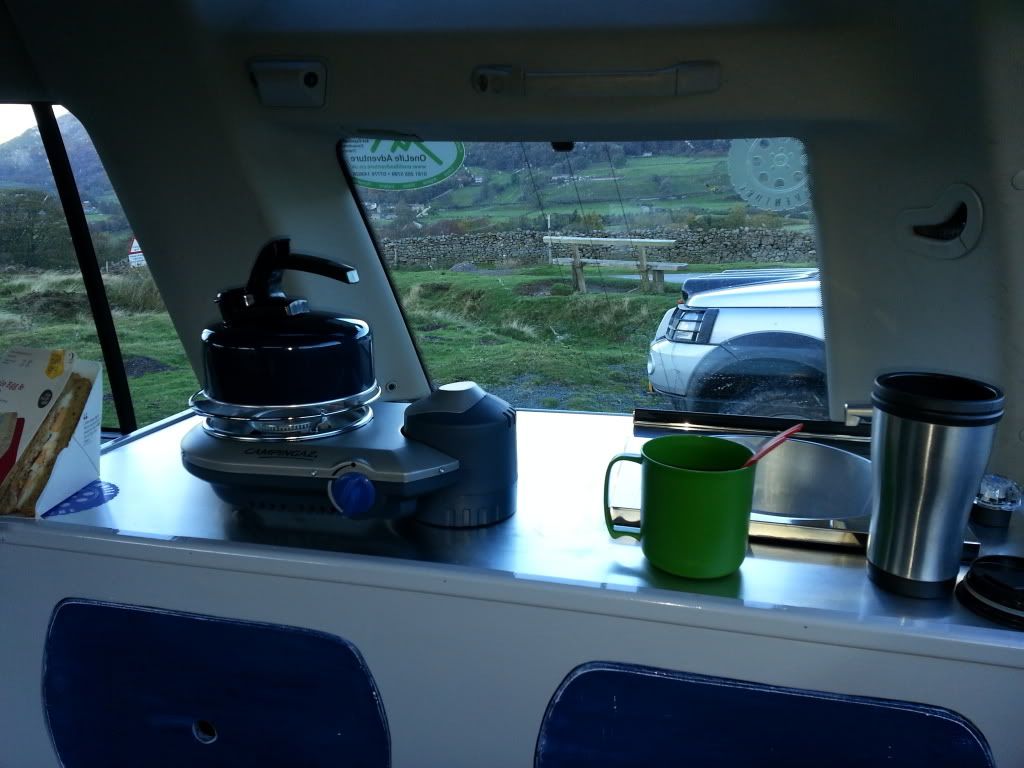
First test as a day van laning in the dales at the weekend and all is good
The next step is to concentrate on the bed area after the custom cushions arrive in a few weeks .
Well it's now a few months later and guess what it turns out it wasn't such a bad idea lol
So I took plenty of pics through the build some of which are below
So day one I moved the seats forward and side trim panels to reveal a lot more space than I thought
So before I fully committed I built a quick mock up of what I wanted of a unit and used a wolf box as a seat box to check for head room etc
Quick bed mock up and measure up and I will end up with a bed 6ft x3ft
So we got the first part of the floor in and the base of one of the bed boxes
A bit more of the first bed box fitted
Started on the main unit now
Reinforcement batten on the back of the unit for fitting the bed later
Reinforcing and creating the end panels and frame and fixing in to the discovery
Lid for one of the bed boxes
End of unit finished off with a panel and a bit of foamed added for a test fit
First test fit
Sink
Rest of the floor finished off . I have cut it like this so I can access from the passenger rear door and the back door.
Storage under the floor
Second box built which is removable so I can have the discovery as a 3 seater when not being used as a camper
Made a start on the second part of the unit
Front panel added
Modified a side locker box from the right side to fit on the left hand side yes it's the wrong colour but it was foc lol
Took the afternoon off and took the dogs to the beach
Test fitted the sink and a coat of undercoat
Small fuse board for tap and future items
Clamping and weighing down the aluminium work tops
Plumbing in and started tidying up the wiring through tubing
Work tops in
Starting to box a few things in
Doors given first coat and Edging added and final coat of paint
Water strapped and some shelving added
Carpet added
RWA graphic added to the end panel
First part nearly finished
First test as a day van laning in the dales at the weekend and all is good
The next step is to concentrate on the bed area after the custom cushions arrive in a few weeks .